
☆ Mainly posting at @gametastic-photography☆ please credit me if you use any of my photos! thank you! ☆
206 posts
Halp, I Broke My Boat Spawner...

Halp, I broke my boat spawner...
-
 absentlurker liked this · 1 year ago
 -
 jfht liked this · 1 year ago
 -
 roamingtigress liked this · 1 year ago
 -
 lolntzzrizz liked this · 1 year ago
 -
 swerveable liked this · 1 year ago
More Posts from Red-dead-tastic
Tried to go fishing with Charles and it didn't go so well.

First of all, I tried fishing, and he just would hop out of the boat

Get back in the boat buddy


However, the look arthur gives charles is so romantic. Or is it just the sun in his eyes?
I'm in the part in the story where I don't even wanna be in camp anymore. Dutch and Molly constantly argue every time I start up or go to my tent.
They argue so much that I'm surprised no one gives Molly some cash and tell her to go live it out with some other man or a better life. I mean Karen, Tilly or Mary-beth, heck, even Arthur, and didn't say anything.
It's sad. I wish I could do something because each playthrough it does this constantly playing audio when their tent is closed.
...kinda getting annoying
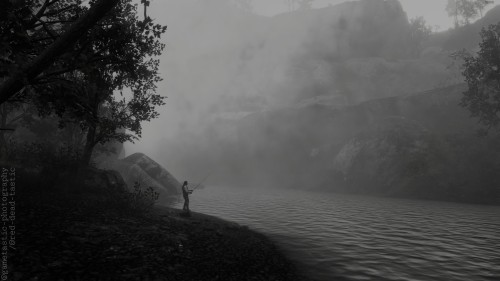
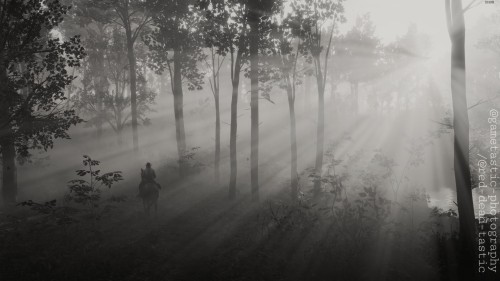

B&W aesthetic
Heavily inspired by virtual photography shots on Twitter. I wanted to do my own. The last one was taken in color but edited to black and white. I might repost again but with colorful scenic ones. Rather than having a reshade filter.


Click for higher res
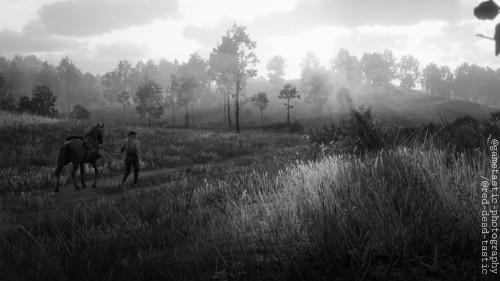
Riding through Emerald ranch with Breaburn.
It's easier when you work with female horses in photography to avoid that nasty flagged post because your horse reared and you just happened to hit the right moment and angle.
I am learning quickly and having fun while using reshade. I added more filters into it as well. Getting better at using the manual focus.
Thank you so much!
It's appreciated, and the reshade has helped me up my photography game immensely!
Do you use photoshop to edit your pictures? Their so crisp and clean and I just got 4k res on my pc.
If so, can you maaayyybbee give us a brief tutorial on how you enhance these for previews for tumblr. Because they always come out so clean even in the preview images.
hiii!!! omg sorry almost didnt see this! congrats on getting 4K!!! it's truly life changing *tears up*. and thanks for such a high compliment 🥹🥹🥹
i do edit my photos yes, but i don't do it in photoshop, but rather in mobile apps so i can just do it during time i cant do other stuff like on the subway so, yes, i can give a tutorial, but it's going to be general steps and guidelines :) sorry i can't give anything like photoshop specific! and i know you're only asking for editing advice but i'll go over the whole process for anyone else who wants to read this as well, so please bear with me. (and please don't take my advice too seriously, i'm only an amateur hobbyist too)
1. The base photo
So firstly, I think it's important that the base picture itself looks good when you capture it in game. With a good photo straight out of the game you can avoid a lot of further editing down the line.
One common mistake I see a lot is that the field of view will be left unadjusted to the default value, which is good for landscape shots, but for portraits it will have a wonky fisheye effect. For portraits you'd typically want to zoom in a lot so the character doesn't look super thin and distorted. In photo mode this is the "lens" option, I typically just zoom in to the max, and tweak what fits into the frame with the freecam. Here's a pic with good FOV for a zoomed in character shot vs. one with the default FOV (his whole face is skewed, as well as pupper):


Also, the in game environment is important for setting up a good shot. You'd typically want some kind of light vs. dark contrast to make your subject pop out, especially against any background. I like to use Rampage Trainer to tweak the in game time and weather and freeze them for better lighting and atmosphere, and sometimes spawn an extra light source but that's a rare case. For example, okay vs. not very okay lighting that's impossible to salvage even with editing:

I also like to blur the background and foreground in the game, with either the focus tab of photo mode or with depth of field reshade presets, because it's a big hassle to blur those during editing. It's quite subtle most of the time but really helps focus the shot on your character, especially if the background is so messy it can swallow your main subject (trees, I'm looking at you).
The photos in this section aren't edited; my point is that with good lighting, composition etc in game, your base vanilla photo can already look pretty good :D This is RDR2 after all.
2. Cropping
I typically crop my images at 3/4 or 2/3 ratio, depending on what looks better. But I think a general rule of thumb is that you want to crop your image so that the contents look balanced; I don't know how to explain this in concrete terms... Basically the same way centering your subject or cropping it by the rule of thirds serves to balance an image. All these pics are more or less 'balanced' in different ways, even though they're not straight smack centered. It's an eyeing process but I think with time it will be easier to tell how to balance your photo...

3. Editing
So! Editing!
Editing I think is just a lot of fine tuning based on what you have with the base image. Me personally, I used to do a lot of colour and lighting editing, but more recently since figuring out that you can just make your base image look good right out of the game, the editing has become a lot lighter. The game can definitely do the heavy lifting, but still editing is important.
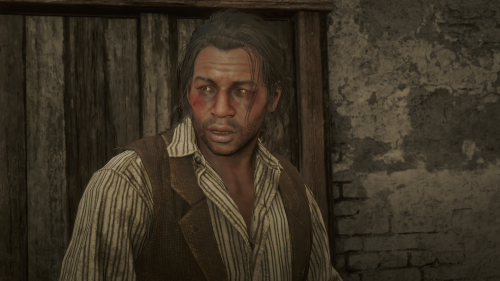
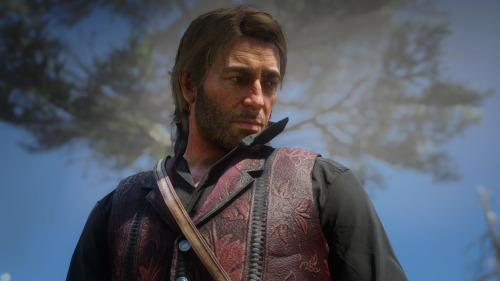
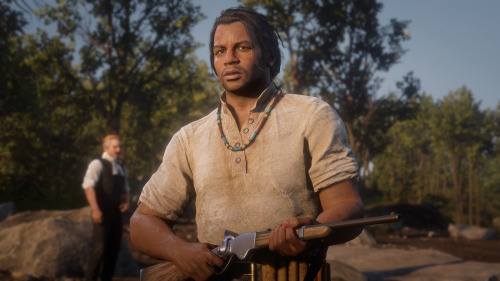
I'll demonstrate with two images (hello my babygorls *kissy noises*):
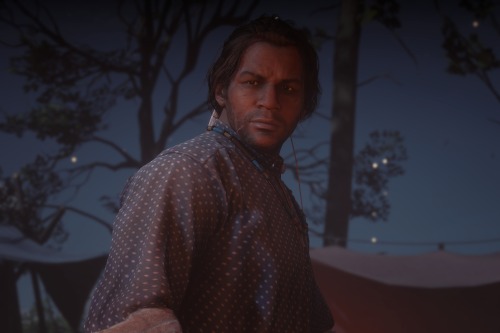
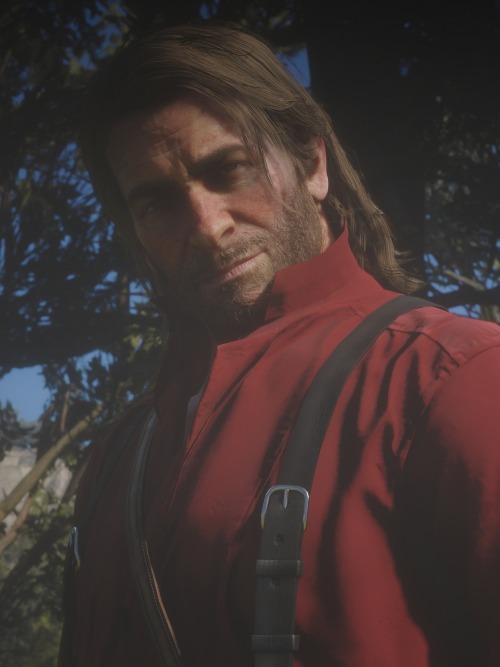
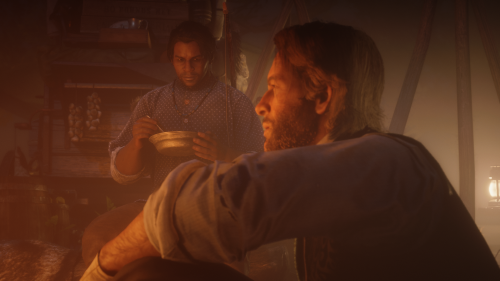
So these two images obviously need some work. Firstly, I'll tweak the lighting, so that dark and light areas aren't too extreme, and also improve the definition/contrast, not too much, but just enough so that the subject is more defined. For Arthur's image the lighting is too murky so I used RGB curves to sort it out a bit.

Then I will colour grade it a little by tuning the warmth and the tone (not touching filters yet). For Charles, it's at night so I've made the tone a little colder for the blue, and for Arthur a little warmer, as well as some custom light patches just to make his face stand out a little more against the background. Some other mild adjustments.


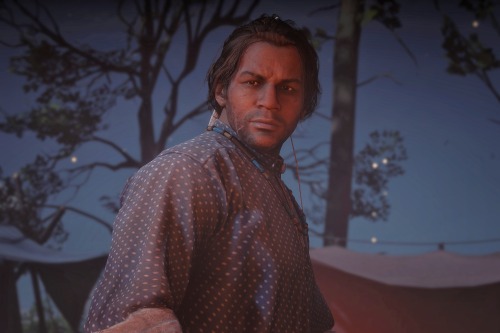
Then if I think the background is still too attention stealing I'll blur it out a bit more. Again, I try to just blur it enough in game, since manually blurring is faulty and annoying.


Then if I think overall the lighting and colour is fine, I'll go through the filters the app offers to see if I can improve it a little more. Since I focus on portraits (pretty bois how could I not) and not do really cinematic/dramatic scenes I tend to stick to the more natural looking filters that just harmonise the colours a bit more.

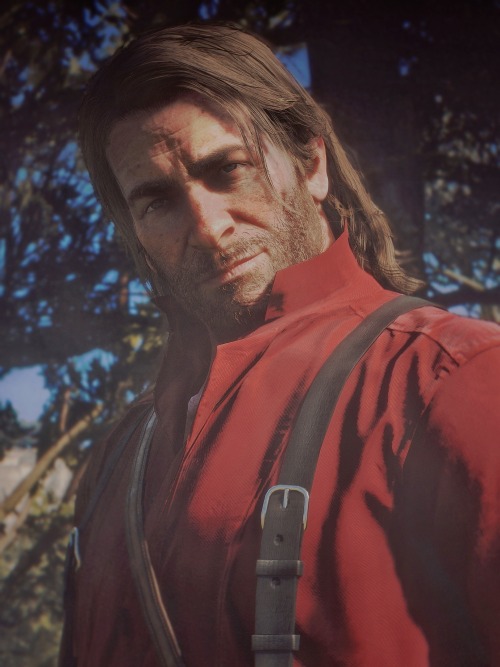
And that's pretty much it for the editing.
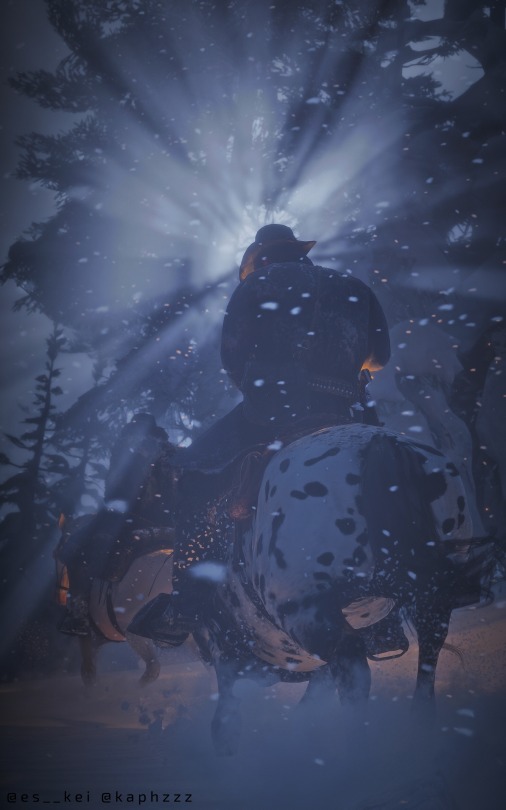
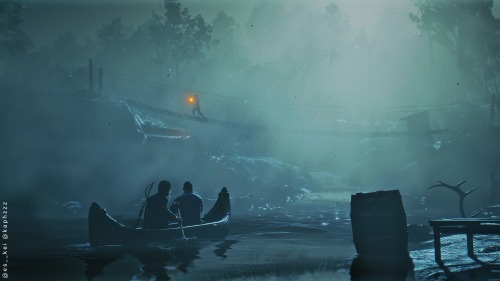
On a side note, contrast is a good thing, but not limited to contrast in lighting, and not necessarily in lighting either. Contrast can be in the colour of your subject and in the back/foreground, or in the conplexity of your subject and blankness of everything else. I think for especially atmospheric photos you'd actually want less contrast for that softer feeling, and not like super hard silhouettes. So yeah, the editing process depends a lot on the image itself and what kind of emotion I want it to have.

4. Other miscellaneous things that help
Besides using mods to customise lighting and props and character pose etc. to your liking, reshade is definitely also a big help. It has a lot of presets that can help your photo to have better colours or add blur. I don't really have a recommended list since I don't remember how I set up my Reshade, but I think a lot of the most popular or built in ones work really well, just play with it and see what you like.
A mod I sometimes use for colour grading in game is the 'Seasons' mod. I don't like too much green so I often set the season to Autumn for that warmer tone to the grass and trees. The other seasons also have different colour tones so it's good for trying different tones! Without vs. with the mod set to Autumn (ignore the quality on those they are from ages ago):


5. Most importantly! Do what you think suits your visual preferences and taste!
So personally I think this is definitely the most important point! I think while you should look at others' work for inspiration and analyse what they're doing well, you should also definitely always prioritise your own preferences on what you like to see in your own pictures :D I think it's important to just do what you like in the moment instead of worrying about what's necessarily right or wrong, or looks good to others.
For example for me my style changed a lot over the past year and a half, and there was definitely a learning and realisation process along the way but I think my more recent preference isn't necessarily better and how I used to do things wasn't necessarily wrong either, it's just different taste.
Hope this was helpful!! :D
Please ask me if you've got any more questions or would like me to explain anything else <3