Blender Tutorial - Tumblr Posts
Hey I love your art very much! Just wanted to ask you if you have any ressources/tutorials to recommend for learning Blender?
Hey, thanks for the kind words! Honestly most of my Blender learning has been just messing around with it and looking stuff up as I need it, but here's a couple tutorials that got me started: MortMort's "Blender Zero 2 Hero" tutorials These were very useful in understanding Blender's UI, and come with some tips for pixel art textures in Blender that will be helpful for low poly stuff specifically. Cherylynn Lima's Low Poly Modeling tutorials These use an older version of Blender, so the UI and some shortcuts will be different, but they're great for getting an understanding of the box modeling process used in low poly models. Imphenzia's Low Poly Character Modeling tutorials This is a link to the newer version of his tutorial videos, which goes over the same kinda stuff as the older ones that I used. These were particularly great for getting a quick grasp on rigging low poly characters for animation. Besides those tutorial videos, an additional resource I used was The Models Resource, which collects video game models for viewing in Blender and other 3D art applications. I used this site to study lots of low poly models from stuff like PlayStation 1, Nintendo 64 and Nintendo DS games. I also participated in challenges like #256FES very early on, because I strongly believe that having limitations or challenge goals makes it much easier to learn how a program works. Especially limitations (like 256FES' "use only 256 tris and a 256x256 texture") really force you to learn and puzzle solve to get the most out of your model. My last tip would be: if making your own art is the ultimate goal, then don't feel like you have to learn everything about a program before you start doing your own art. Just get started, then problem solve as you go! It can be fun and gratifying to follow along with tutorials because they produce pretty results in the end, but for me personally I vastly prefer just being creative with a program and figuring out what I need to do as I stumble upon problems. Hope this helps! Good luck on your Blender journey! :)
Tips for Pose Makers for switching from Blender 2.7 to Blender 3.3 (or newer)
In October 2022 Sims 4 Studio added support for Blender 3.3. If you’re considering switching to the new Blender version from 2.7, you’ll find a few tips below to help you getting started/use the updated interface. Feel free to let me know if you have any other tips or suggestions. Update: Support for newer Blender versions was added at a later point (and might be expanded in the future). The guide applies for Blender 3.3 - 4.0 in the same way. See extra note regarding inserting keyframes for Blender 4.1(+).

Keep reading
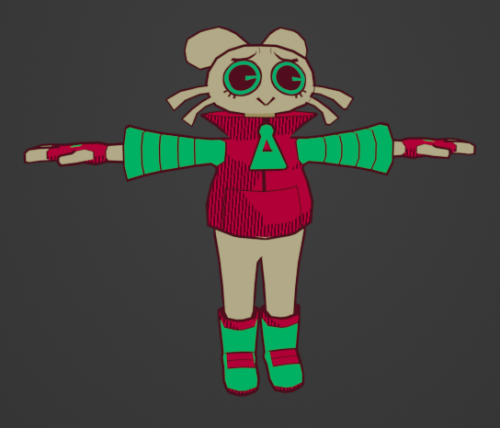
i love the style of that 3d render of your character! may i ask how you animated the outline and made the whole thing pixel-y? :0
Very glad you asked!
There isn't many tutorials on how to make this kind of stuff so I am totally glad to be the first one.
BLENDER 2.5D TUTORIAL
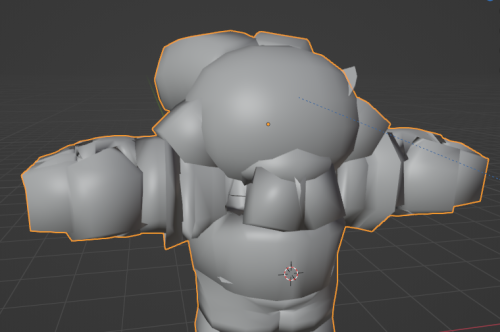
First of all

Get your model ready and steady, that part is what I ain't explaing, however if you want it to have these colors, you will have to put this nodes in your texture shader

`[ This is for her red jacket, the lower nodes is for her primary colour and the upper nodes are for her shadows, which also has some extra nodes to give it a comic texture. ]
Quick reminder to give the model some lineart yourself to the parts that don't form its sihlouette, for example her shoes.
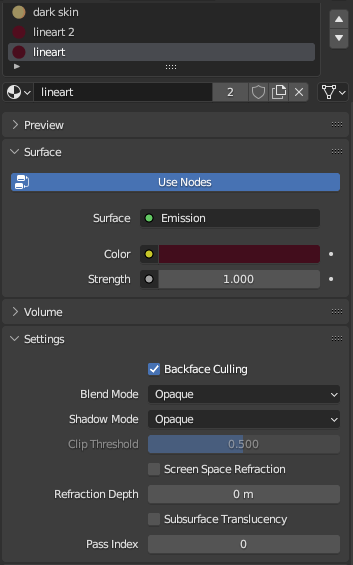
Now for the lineart, first of all make sure you have created a black Emissive material and that it has Backface Culling activated
After that go to the Modifier Properties and add a Solidify modifier

Make sure to Flip the Normals, set the Material Offset to where the Lineart material is, and adjust a little bit the Thickness of the mesh, then you will get some natural good-looking lineart like hers.
Now, you could easily be satisfied like this, but now we are going to make it feel like each frame is a new drawing by making her model lineart jiggly
First of all create a Displacement Modifier and give it a cloud texture
Make sure to lower the strenght and midlevel, otherwise it will look like this

Now, create an Empty Plain Axes and go to the Displace modifier, change the coordinates from Local to Object and focus the object on the Empty
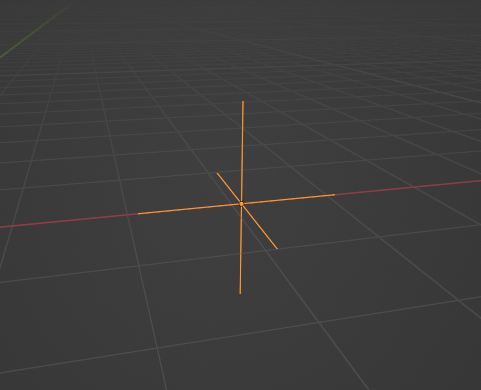
And thanks to this adjustments, if you move the empty around, it will create a slight jiggle
Now what we want is for this empty to automatically move around without you having to do anything
Create a new screen and go to the Graph Editor section
In here we will be making the empty move with a modifier
Select the empty and press "I" of Italy and select Location, this will create a keyframe for the empty that we will be able to manipulate
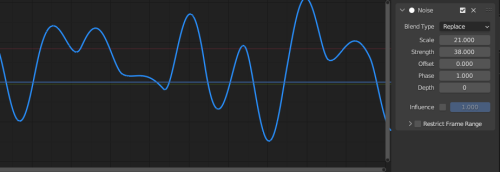
Go to the Editor and ONLY SELECT THE Z POSITION, and then go to the Modifiers tab and add a Noise modifier
Make sure to adjust the Scale and the Strength so that it looks more proper for the jiggle effect, make it look like a rollercoaster!
And now, if you did everything right, your empty will be moving up and down and all around by its own
WHICH also means, the model displacement will follow the path of the empty to create that jiggly effect we crave so so much
However...
The model is indeed jiggling, but it's doing it the wrong way, we are trying to make it look like a cartoon not a gosh darnit gelatin
So to make it jiggle the right way we are going to make its noise feel more STEPPED
Go back to the modifiers of the Graph Editor and add a Stepped Interpolation, and make sure it has a Step Size of 5
And now we finally get the choppy jiggle effect!!
Now you can play around the Displace and the Noise to make it more or less jiggly
But nonetheless, if you followed the tutorial right, you will be gifted with the perfect looking 2.5D effect!!!
Now you can go ahead and try to fool everyone into thinking a 3D animation is 2D
And before we wrap up, one more extra for the one who asked how this is made,
We are going to make the render feel pixel-y!
Go to Render Properties, make sure you are using Eevee, and in Sampling put the Render on 1 and the Viewport on 0

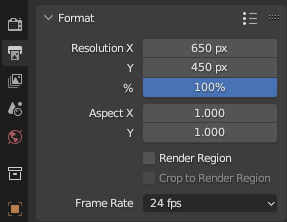
Then go to Output Properties and you can do two things:
1) Change the X n Y to a size lower than 1000 px
2) Change the Resolution % to these numbers (8, 16, 32, 64) This way if you wanna do pixel art you are more accurate
For this render I used the 1st option
And last but not least, in the Output Properties make sure you save your files in the right way with these settings

THen render animation, make an image sequence with all the pngs, and TA-DAH
You get a pixel-y 2.5D animation!!!
Thank you so much for checking, I hope this is useful for anyone who wants to do this stuff, if anyone has any questions don't be afraid to ask, I may have explained some stuff badly.
Anyways have a very jolly day
Tsuyo OUT