Digital Study - Tumblr Posts
digital painting study of a madoka magica doll done in MS paint!

I wanted to practice my painting but I also just wanted to goof off and draw anime so I compromised, lol
MS paint study!

Actually painting in MS paint is so fun :)
I tried to inject a little more personal style into this one instead of just copying from the reference, and I think it turned out pretty cute!

Keith Again! in my style yayy loll. Honestly just having too much fun.

Keith Kogane! Sooo, these studies are so much fun to do, I will be doing other characters from different shows, and even more of Voltron. Just messing around with the color schemes to see how the feeling translates or differentiates.

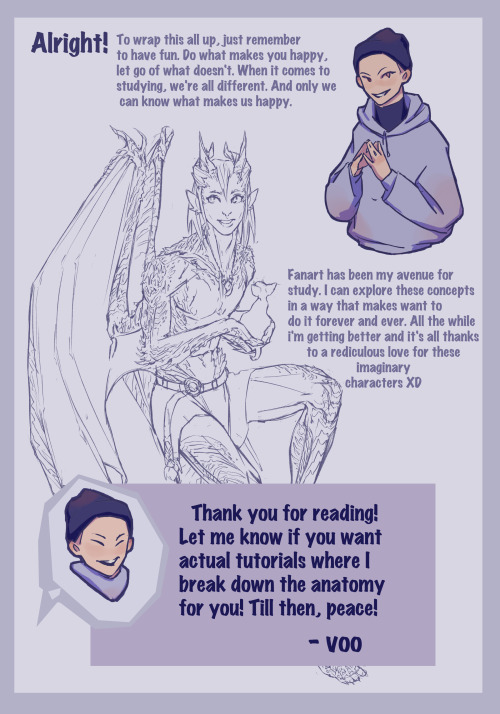
Sorry for being so wordy, but omg there is always so much to say! I hope it helps with something, if not just a little bit of inspiration. Especially if you’re self taught, don’t put any unnecessary pressure on yourself to take a traditional or even new-style or whatever when trying to get better at your art or anatomy. I absolutely yawn at doing repetitive studies of some static arm or leg or something. I’d rather draw the damn limb attached to a freakin’ body, and a cool one at that. But maybe my way of doing things is so far from being comfortable for another person, like I mentioned, everyone is different, everyone finds their way. What really matter is if you believe what you’re putting your energy into is worth it, and if it’s not doing anything for you, then don’t be afraid to abandon drawings, or studies, or even nearly finished artwork. I do it all the time, but I do it because it’s the healthy thing to do.
Hi, I’m Keith! ψ(`∇´)ψ
I’d love to add to this study of reference guide so you guys can see there are so many ways to study.
❤ Let’s have a look into this study ❤

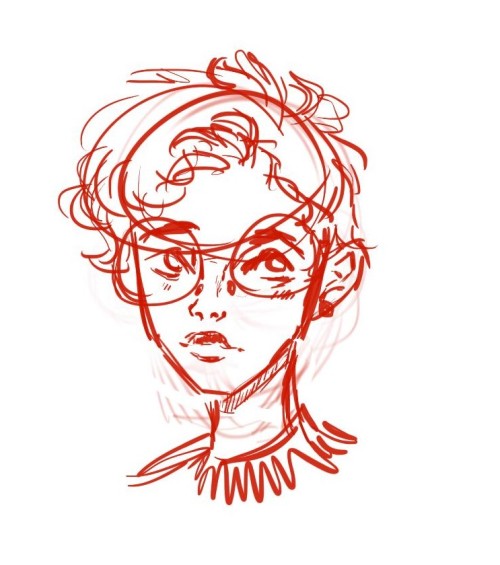
In this one I followed @angelganev‘s guide in his youtube channel on how to do faces. As you can see, this way shows you how the lines connect into one another naturally.
To get into more detail, in this study i drew two times. The first time was drawn on red over the drawing and in black was the drawing next to it. It isn’t perfect, but it’s about learning!
I reccommend you to check his youtube channel (angel ganev’s). It’s worth your time and effort.
❤ Now, let’s have a look into this other study ❤

This is the classic side to side that takes into account the most important features of the drawing. However, you can see the photo upside down, right? This is another way of learning how to study and sketch.
Changing the rotation of our reference makes us try harder to understand what’s in the image and even more replicate it in our own style. With this in mind, you can see the big difference between the first and second sketch.
❤ And finally, let’s take a look into the final study! ❤

IT LOOKS WEIRD AND AWFUL, I KNOW. However, this is taking the “drawing over the reference” to another whole level.
I painted over the reference, trying to understand the blending and the basic coloring in black & white method. But, you know? Maybe the traditional sketching isn’t for you!
For this method I choose big round brushes and try to follow the general shape of it all, of where the eyes and hairline, of where the ears go and keep it GRAYSCALE. Why? Colors may distract you from the main purpose: PRACTICING, especially in this case because we are shading.
Blending is more of a choice, but at first it’s better to keep it rouch and the grays may eventually blend bit by bit. It doesn’t have to be perfect or exactly as the picture, feel free to change.
It doesn’t always have to be done on top of a drawing, but side to side. The drawing below was one of the results I had after painting over references, making this a HUGE improvement in my drawings!

However, the most important thing to take into account when you’re trying to learn how to study references is properly knowing what brushes you like the best for this!
As you’ve seen in the previous studies, you can see different brushes such as: soft spray, hard round, big palette soft round, and pencil brushes.
The brush you choose will give you a different result depending on what you want
Let me show you what I mean:


The first sketch has a more detailed style and rough pencil shading and gains dimension through these. The second one is a more clear structure and less shading and unrefined features through mere lines.
Do you want a clear line-art style or instead a soft blended style? It’s up to you!
Knowing your brushes will open your way to how you will study your references and being courageous to overcome your mistakes will let you learn what you need so you can improve.
I hope this is of help y’all o(* ̄▽ ̄*)ブ
How to study references
In one of my previous posts I talked about how to choose references, but I never explained what to do when you find the perfect reference. “Obviously draw it!” Well, yes but no! ( •̀ ω •́ )✧ When you first approach a reference, you obviously want to draw it, but previously it’s very important that you study your photo. And I don’t mean watching it in detail, but break it into minor concepts. Studying is very important when you first start to draw, also because it helps you to memorize the concepts that make the reference, so that in the future you might not need one!
1. Photo Reference: to be as clear as possible, I decided to do this process myself.

this is the reference that I chose, particulary beacuse of the lights and the lack of background :) What I did after choosing the ref, is breaking it into geometric shapes an straight lines.

This process doesn’t have to be detailed, it’s just a way of looking how the shapes can form a figure. The trick is to look at the lines as they are: lines. Don’t think about the whole picture, concentrate on the single line.

(please excuse the poor quality of the image, but my computer is terrible!) what I did, is taking the single structures and lines one by one and remodulate them so that I could make a (basic!) sketch of the whole thing. I did not trace, as I don’t really like to do it, but ONLY FOR STUDY PORPUSES, you can do that too.
2. Art Reference: so, this is the hard part. Or rather, the part that seems the hardest. The whole thing is: you have to study the techniques, but leave alone the initial composition, so how to do it? It’s really simple! Let me explain:

let’s say you really like this artwork, and you want to try to imitate the artist. What you want to do, is doing the exact same thing we did with the photo: break it into pieces and remodulate the whole thing.

see how i “absorbed” the artist’s style in a new way? obviously, this is only one of the ways of studying an artwork! you can study artworks on numerous levels: lights, anatomy, brushes used ecc…


a couple of fun little studies referenced from photos i took on my recent trip to Europe/Italy!