aka @rmgrey-author | Rowan Grey • writer • graphic artist • mix maker • tutorial maker • ABSOLUTE STEREK TRASH • multiship af
441 posts
Hi, It's The Previous Anon Here, I Would Honestly Love A Tutorial, But Unless You Don't Do All Your Aesthetic
Hi, it's the previous anon here, I would honestly love a tutorial, but unless you don't do all your aesthetic posts the same way, I guess you can make the tutorial on any one of them. I do have this link that I was also really interested in knowing how you made; "lycaens-tumblr-com/post/149468976315/disconnected" (replace - with .) thank you!
Well I did do a tutorial of the SPN picspam here. That should help you with aesthetic picspams since a lot of those pictures needed some serious toning to fit in with the color scheme. If that’s not good enough I can make a more complex aesthetic spam tomorrow probably. Been meaning to make one anyway.
****Here is the aesthetic tutorial.
And here is the tutorial for the Disconnected graphic/gif.
More Posts from Lycaens
Just wanted to ask you how you make your aesthetic boards, like how you choose the pictures and where you get them from, and where you get your ideas from.. you make so many of them and so well, just curious to know what your process is.. i have no intention of copying you or anything, (also i have like 0 talent) but just wanted to know, thanks!
I will work on a tutorial for you; as for places to get pictures, I grab stuff from Pinterest and WeHeartIt. If you have a specific picspam I made in mind that’d help me make a tutorial for you.
SCREENCAP PICSPAM TUTORIAL
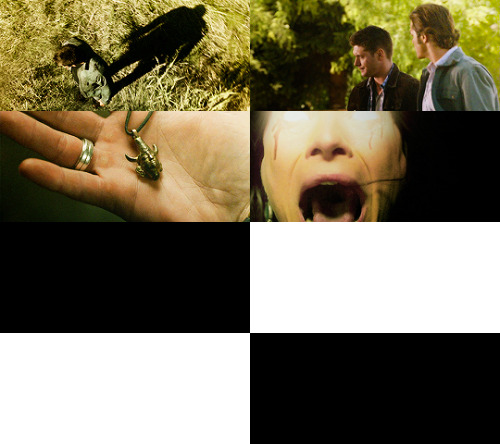
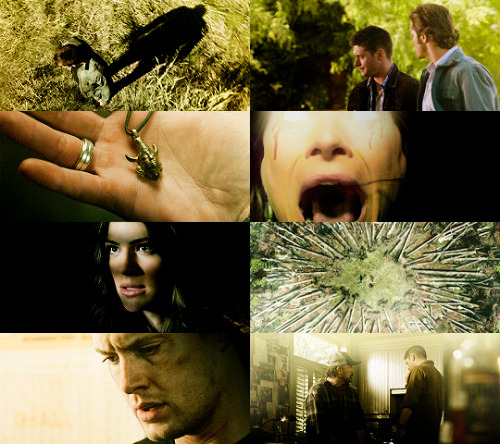
Yes, another tutorial! This was a request from an anon; they wanted a tutorial of how I did this Supernatural Picspam, and I am going to actually do it, because I actually like making tutorials ^_^ So just to be clear, I will not be doing the exact same pictures and color scheme because I didn’t save the PSDs for each of those pictures, but it will be pretty much the same.
I am showing you how to make a color-scheme picspam, made entirely of screencaps from Supernatural:

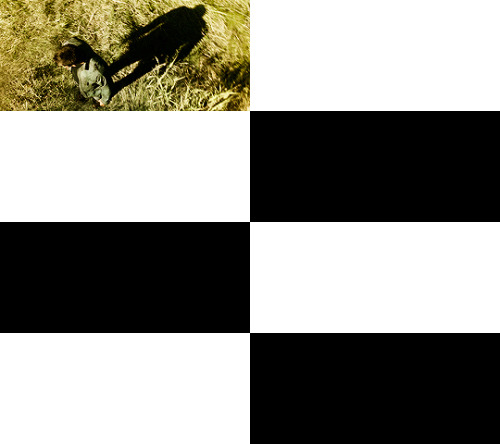
First thing you need is a template. There are plenty you can find online to download, especially on tumblr; but I am going to give you one for this spam.
I use different templates for each picspam I make, and for the original post I used the picture sizes above and made it for sixteen pics instead of the eight I am doing right now.
For this kind of picspam I usually either cap my own screencaps from HQ videos that I have of episodes, or I get them online. For these caps I used homeofthenutty.com, and the episode I took the caps we are using for the tutorial is season 4, episode 1.
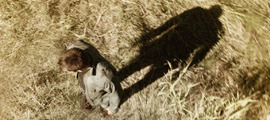
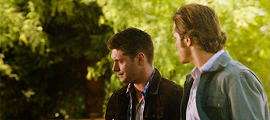
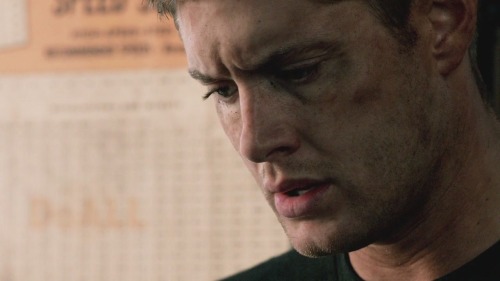
Now, open up the first cap you’re going to use:
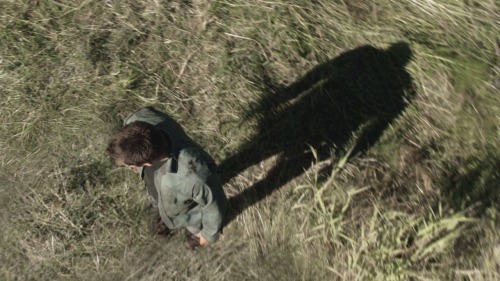
First things I usually do are to duplicate the background layer; set the blend mode to screen and mess with the opacity until I find a lightness I like. Then I made a black and white gradient map, set the blend mode to soft light, and the opacity remains at 100% for this one.
Now a selective color, focusing on reds. Cyan -34, Magenta -29, Yellow -12, Black 0. Now make a new layer, blank and pick a round soft brush and a color. This color will define the color scheme for the whole picspam, so pick something good.
I made a duplicate of the layer and erased some of the middle parts I colored before. I used this #e0bea3 for both layers, and set the blend mode to soft light.
Now make a Hue/Saturation adjustment layer, with saturation +24. Then a Vibrance adjustment, vibrance +16 & saturation +11.


Download those and add them on top of the cap. The first one should have a blend mode of soft light, and an opacity of 38%. The second is also soft light, but 100% opacity. Now another black and white gradient map; soft light blend, 95% opacity.
Lastly, I stamped the layers (ctrl+alt+shift+e) and sharpened. Filter > Sharpen > Smart Sharpen, then make sure that More Accurate is ticked, Amount 500, Radius 0.3 and Remove: Gaussian Blur. And then a color balance if you need it, just for more toning. I used midtones only, -9, +22,+22.
Then add it to the template. And rinse and repeat.
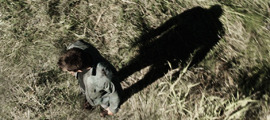
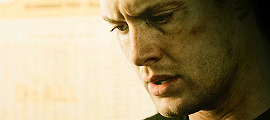
Here are my layers for this cap, and the results:
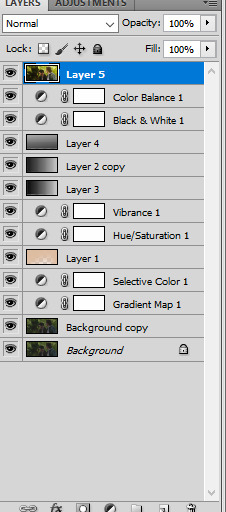
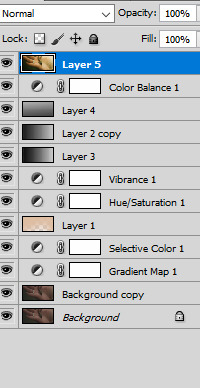
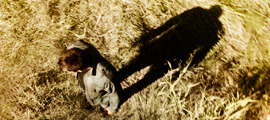
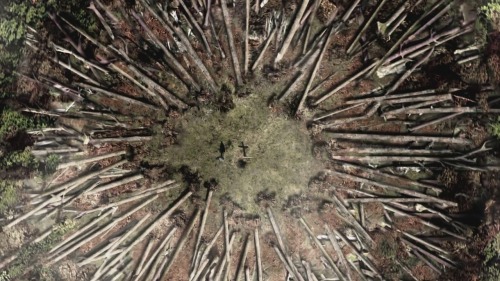
This one ^^ required some more toning and darkening than the others.
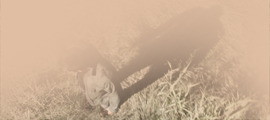
I started with the darkening and contrasting. A black and white gradient map set to the soft light blend mode. Then another at a lowered opacity, then a selective color, focusing on reds. -34,-29,-12,0; set to absolute.
Then a new blank layer, the same yellow-orange tone as before (#e0bea3) This was how I colored it:
Then set the blend mode to, guess what? Yeah, soft light. Did a hue/saturation and a vibrance layer, just like on all the other caps. And the gradient layers I told you to download from before. Now it looks like this:
Now for the real trick, making it yellow/green without making it look terrible. Make a color balance adjustment, midtones only; -47, +31, -30. Then another one, only midtones again; -17, +12, -31.
Then I stamped (ctrl+alt+shift+e) and sharpened, same as before. Then I added a blank layer and painted in black on the right side, and added a subtle curves layer on top.
And add it into the template!
Looking good so far ^^
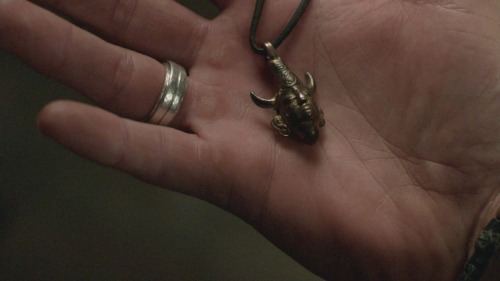
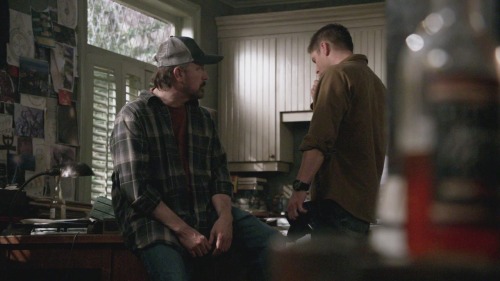
Ruby’s cap was different too; for her I duplicated the background layer and set the new duplicate to the blend mode screen. Then I stamped it and sharpened. Next a gradient map, soft light black and white color scheme.

I wasn’t happy with the contrasting so I duplicated the gradient one more time. And I did some toning; just a vibrance and some selective color.
Next the famed soft light color layer.
And then the same gradients as before and some black for the right side too.
I did another vibrance, (+38,+10) and a color balance (midtones: -17,+15,-10) and a selective color (reds: -32, +36, +35, 0)
Final result ^^
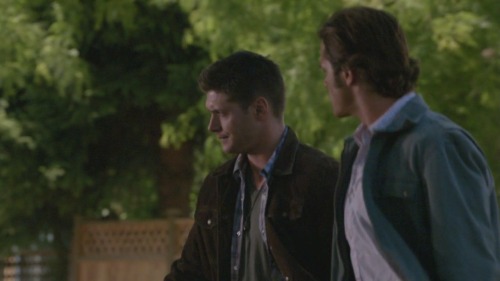
This one I just duplicated the background and set the duplicate to screen. A vibrance layer, a color balance for more green, and then sharpened it.
Follow all steps from the first picture; this time I added a blank layer on top and used a yellow-green color for the top part. I wanted there to be a lot of light; here is my selection for where I put the color (#e2d5a0)
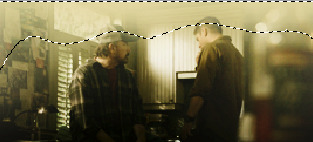
Color balance and gradient maps are your best friends!
Same steps as before! Only this time, I used an extra color layer (#e17813) I placed the coloring like so:
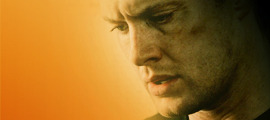
Blend mode = screen, Opacity = 44%.
Hue and saturation, vibrance then the same gradient layers we’ve been using all along.
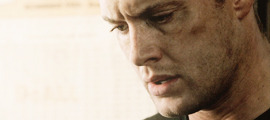
I added another gradient map on top for some more contrasting; soft light blend mode and 43% opacity. Then I used blank layers, a soft brush and absolute black to add some darkness to the right side. Then a color balance on top of everything for the green-yellow tones of the picspam’s color scheme.
That’s it! Now add them to the template if you haven’t already and save it.
At the very end, I did add a vibrance and a selective color on top of all of the layers on the template. Vibrance +11, +3; Selective Color, blacks +5.
No PSDs this time, but for more screencap editing help check out my other tutorials. Especially the one I did for Sam.

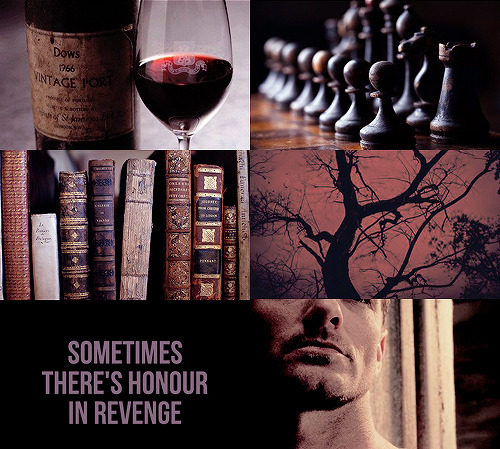
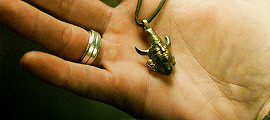
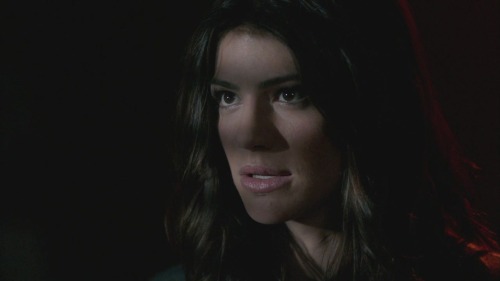
TEEN WOLF || peter hale
I'm not the bad guy here.


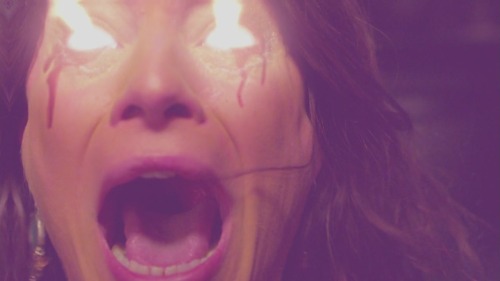
aesthetics series ◇ elektra natchios