aka @rmgrey-author | Rowan Grey • writer • graphic artist • mix maker • tutorial maker • ABSOLUTE STEREK TRASH • multiship af
441 posts
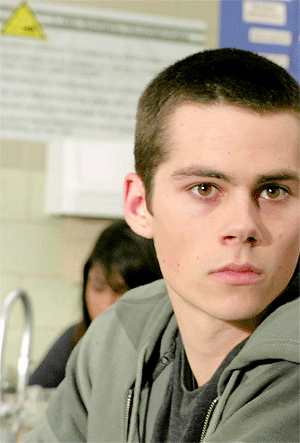
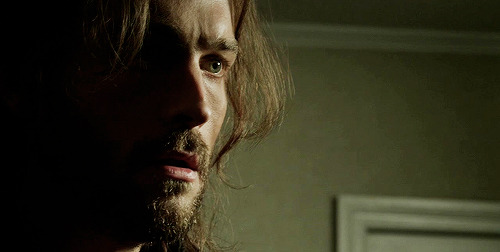
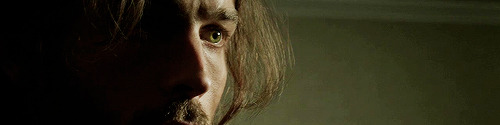
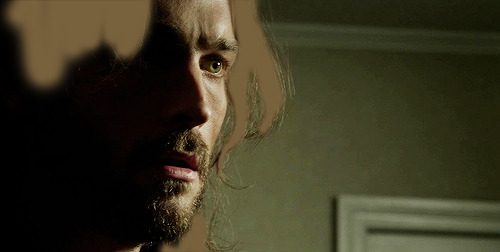
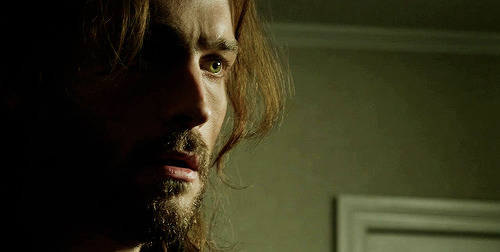
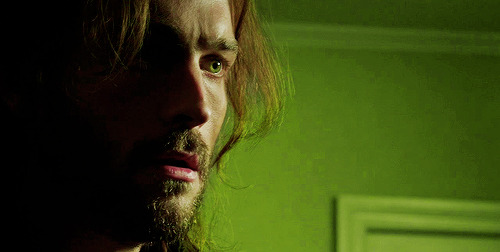
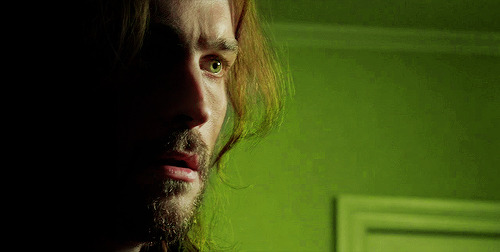
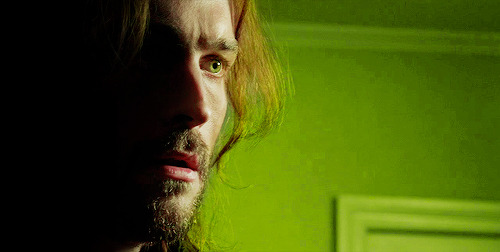
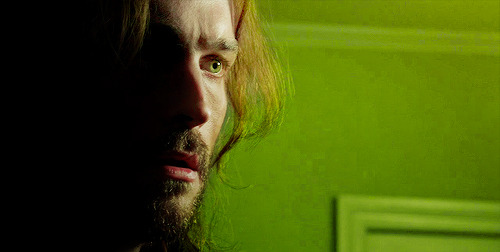
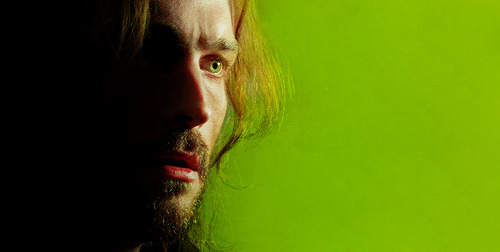
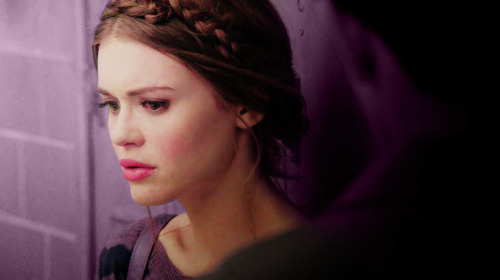
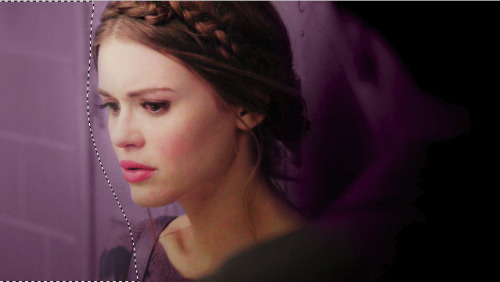
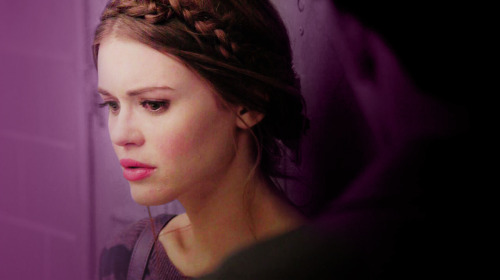
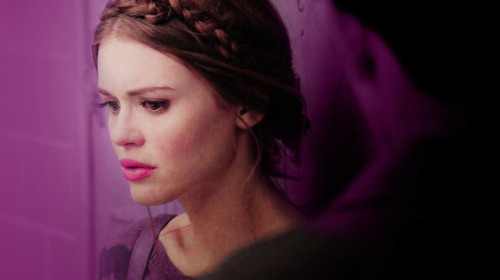
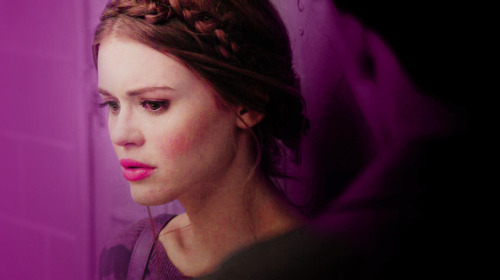
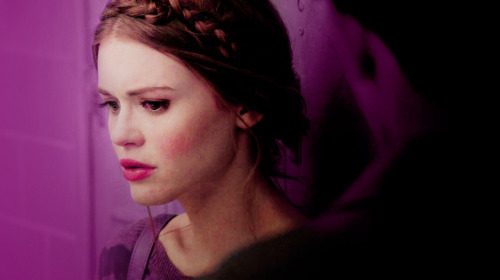
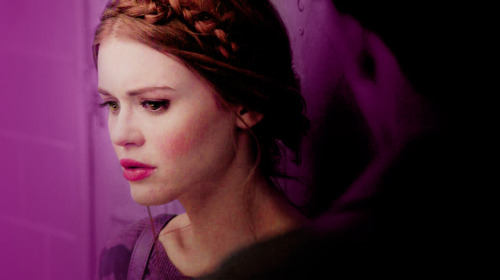
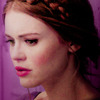
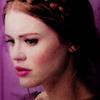
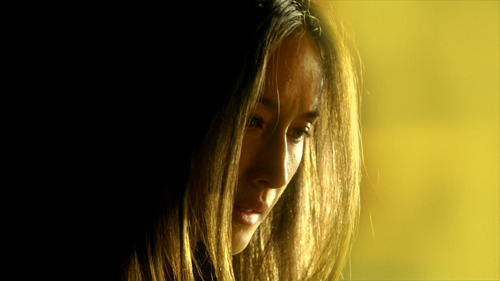
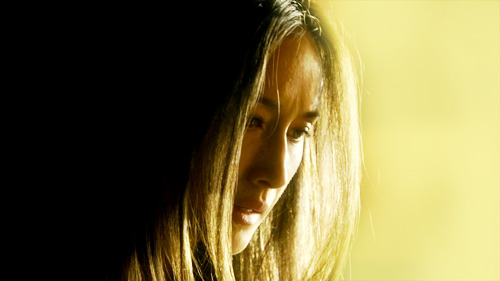
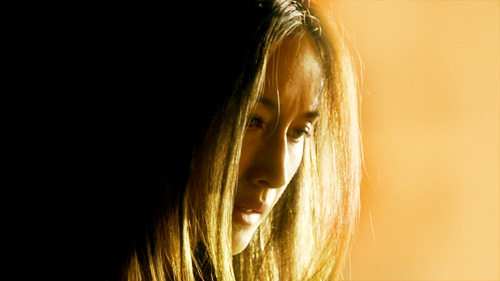
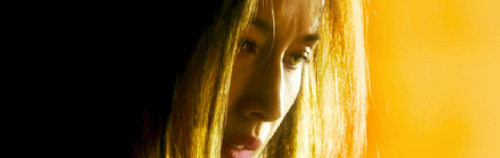
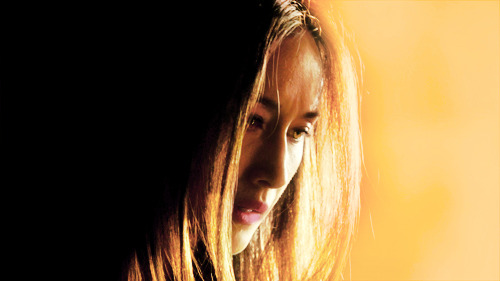
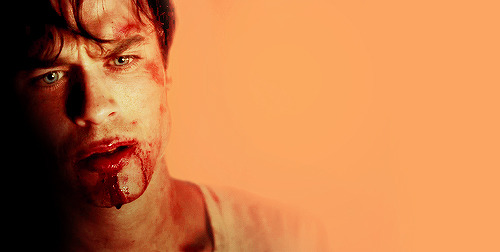
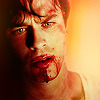
Lycaens - CHAOS HAS COME AGAIN

-
 soldierporn liked this · 1 year ago
 -
 superwhomac liked this · 1 year ago
 -
 cryptidenergy liked this · 1 year ago
 -
 ultrainfeerno liked this · 2 years ago
 -
 theallegedsourwolf liked this · 2 years ago
 -
 dominikadecember liked this · 2 years ago
 -
 alwaysash13 liked this · 2 years ago
 -
 tw-1997 reblogged this · 2 years ago
 -
 gwenstrife reblogged this · 2 years ago
 -
 derekhalesroom reblogged this · 3 years ago
 -
 virtualalternative reblogged this · 3 years ago
 -
 wellhalesbells reblogged this · 3 years ago
 -
 keinkeiblog liked this · 3 years ago
 -
 kdkitsune liked this · 3 years ago
 -
 running-with-sourwolves reblogged this · 3 years ago
 -
gwenstrife reblogged this · 3 years ago
-
 artemisprowls reblogged this · 3 years ago
 -
artemisprowls liked this · 3 years ago
-
 ohlookazblogsaboutteenwolfnow reblogged this · 3 years ago
 -
 anxioussquirrel reblogged this · 3 years ago
 -
 dyingofdreams liked this · 3 years ago
 -
 tanyagibbs260-blog liked this · 3 years ago
 -
 bacchus-atreides liked this · 3 years ago
 -
 coolswearypriest liked this · 3 years ago
 -
 dickgrysns reblogged this · 3 years ago
 -
 history1 liked this · 3 years ago
 -
 lnowknow liked this · 3 years ago
 -
 tinglerer reblogged this · 3 years ago
 -
tinglerer liked this · 3 years ago
-
 revengewolf reblogged this · 3 years ago
 -
 dylangasmsforusall reblogged this · 3 years ago
 -
billyj44 liked this · 3 years ago
-
rudewordzii liked this · 3 years ago
-
 cancersunpiscesmoon liked this · 3 years ago
 -
 beautydisappear liked this · 3 years ago
 -
 redactxd reblogged this · 3 years ago
 -
redactxd liked this · 3 years ago
-
 nerdie-20 liked this · 3 years ago
 -
 peterparkerslovebot liked this · 3 years ago
 -
 ofbodiesofcities liked this · 3 years ago
 -
 maurypovichofficial2 reblogged this · 3 years ago
 -
 saintcarrionn liked this · 3 years ago
 -
 treesofgreen liked this · 3 years ago
More Posts from Lycaens

TEEN WOLF || peter hale
I'm not the bad guy here.
ALPHA STILES FIC REC
With The Wild Wolves Around You by runningwithwerewolves (that’s me btw) (Teen Wolf | 9/9 | 182,197 | Mature | F/M, M/M | Stiles x Derek) STATUS: complete (there will be a part 2)
The one where Stiles was born a werewolf and became an alpha when he was eight years old after his mom was killed. Stiles' dad knows about the supernatural, Scott did not grow up in Beacon Hills and has been a wolf for about a year before he moves to Beacon Hills and becomes Stiles' first beta. Derek is angsty, smart and pining for Stiles has serious trust issues and is bent on vengeance.
Major plot points will be struck but the plot of season one will be seriously altered for obvious reasons. Read the tags for more.
When The Tables Are Turned by BeniMaiko (Teen Wolf | 5/5 | 16,690 | Explicit | M/M | Stiles x Derek) STATUS: complete
Derek has to deal with a newly bitten Stiles.
The Alpha to My Alpha by CupcakeGirlA (Teen Wolf | 1/1 | 10,716 | Teen & Up | M/M, F/M | Stiles x Derek, Scott x Allison) STATUS: complete
“Derek will kill you. He’ll tear you limb from limb!” Stiles says, scrambling away from him. The Alpha ambles closer.
“No, I don’t think he will,” the Alpha says. “I mean aside from killing a couple of hikers in his territory and doing him this favor, I haven’t really done anything to Hale. Once I’m gone he’ll probably be happy with the gift I’ve left for him.”
Running With The Wind by thepsychicclam (Teen Wolf | 1/1 | 15,458 | Explicit | M/M | Stiles x Derek) STATUS: complete
Derek's been running and hopes he can find sanctuary in the Stilinski Pack's territory. The Alpha isn't the strong sheriff he thought he was, but a sarcastic awkward teenager that Derek finds he kinda hates.
In This Darkness (It’s You I Hear) by Kedreeva (Teen Wolf | 1/1 | 9,943 | Mature | M/M | Stiles x Derek) STATUS: complete
Deucalion bites Stiles on the way out of town, and Derek finds him in an unexpected condition....
One Found Omega by AlphaElixir (Teen Wolf | 22/22 | 33,734 | Explicit | F/M, M/M | Stiles x Derek and soooo many other pairings) STATUS: complete
Derek Hale never had a family. The first memory he has is of his pack, surrounding him with sneers and unclothed. That was years ago. Now he's a full grown 18 year old Omega who's been left by the only family he's known. Then comes a "Stiles" whatever that is. Derek's finding out that everything he's ever known is apparently wrong.
A World Remembered by SuperfluousEmi & Winchesterek (Teen Wolf | 2/2 | 39,514 | Explicit | M/M | Stiles x Derek) STATUS: complete
Nearly twenty years after The Sickness hit, Derek returns to Beacon Hills where he finds a settlement run by an Alpha from his past.
Stiles and his pack take Derek into their territory, welcoming him home.
The Choice by BigBadLittleRed (Teen Wolf | 14/14 | 31,354 | Not Rated | M/M, F/M | Stiles x Derek, Lydia x Parrish, Boyd x Erica) STATUS: complete
It's been years since the fall of the Hale Pack, which resulted in the death of almost every member of it. Now, Beacon Hills is occupied by the Stilinski Pack. Led by Alpha Stiles, powerful sorceress Lydia Martin, and Stiles' best friend and loyal Beta, Scott McCall.
Stiles is an intelligent young man, cunning and witty, only turning to his physical strength as a last resort. But when it comes down to it, he'd spill blood without a second thought to protect who he loves.
It wasn't on his agenda to pick a fight with the ruthless so-called 'Alpha Pack', but he is not the type to stand by and watch an innocent Omega die. After bonding with this severely abused and mistreated wolf, he has to make a decision.
Hand this Omega back to his abusers, or go to war and put everything he loves at risk.
ICON TUTORIAL #1
I decided to show you how I make some of my icons; most of the time I make them by just cropping my own edits. But sometimes I make colorful icons for no reason, so, that’s what we’re doing.
PROGRAM: Photoshop CS6, DIFFICULTY: Medium
To be clear, I am showing you how to make icons like these:
First things first, open up your screencap your turning into an icon.
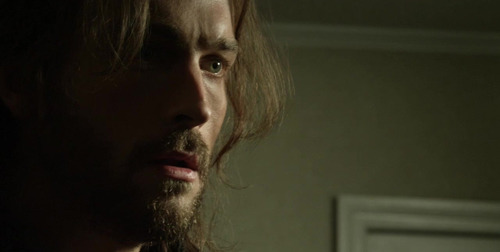
I am starting with Ichabod from Sleepy Hollow.
Duplicate the background layer and sharpen the image. I always use Filter > Sharpen > Smart Sharpen, with the Amount set to 500, the Radius as 0.3, More Accurate and Remove Gaussian Blur.
Add a Brightness/Contrast adjustment, with the brightness as 43 and contrast 16. Then a Curves; 152, 140. I added a Levels just to dull the brightness a little; 0, 1.00, 255 then output levels 0, 229. Lastly, for more contrasting I went with a Selective Color adjustment blacks +8.
Now I focus on his eyes. I wanted the colors be more vibrant and noticeable; so I created a new blank layer and grabbed a pale green color (#746e48), set the blend mode to soft light and painted in his iris. I selected the layer and right clicked to ‘select pixels’ and added a Curves; 150, 105.
Now make another blank layer and with a soft round brush, use a brown color to paint his hair (#78613d).
Paint where I did ^^^
Then set the layer to soft light blend mode, at 74% opacity.
Next I do some toning for the entire image. Color Balance, midtones only: +10, +13, +1. Selective Color; REDS, -39, +54, -11, 0. Then make a whole new Selective Color and mask it so this one doesn’t touch his face and barely grazes his hair. YELLOWS, -23, -42, +57, -10.
Make another Selective Color that is not attached to the one you just did. This time I colored the whole image and then went back over with a lower opacity brush and got rid of SOME of the coloring on his face. Just some of it.

Above is what my selection looked like, and here are the Selective Color settings: YELLOWS, +42, -40, +85, 0. Then another Selective Color, for more YELLOWS, -8, -42, +38 with the selection of the previous selective color. Also on this one you want to do these GREENS, -55, -37, +100, 0.
Next, make a new blank layer; using this color #d1c39b color like so:
Soft light blend mode, 71% opacity.
Another Selective Color, YELLOWS, +31, +31, -26, 0; make sure it’s masked only for his face! It shouldn’t touch the background this time.
Next I wanted to shade the left side, so I used a black brush on a new blank layer; then a gradient fill and painted in more on the side.
Next another Curves, 138, 112. Vibrance, +16, +5.
Add both of these:


Blend modes should both be soft light!
Next we edit the background! Make a new layer, and get a nice vibrant green color (#6e9700) then use a soft brush to color the right side of the image.
Above is my selection. Keep the blend mode and opacity at default for this one.
Rinse and repeat, only this time use this color #93be1e; and make sure the blend mode is soft light and the opacity is 70-76%. I duplicated the layer and erased a lot of the color near Ichabod; keeping the more vibrant greens near the edges of the image.
Lastly, I stamped the layers (ctrl+alt+shift+e) and added one more Selective Color. REDS, -28, +29, +30, 0; and another Vibrance, +10, +2.
Then crop it! I make my icons 100x100, and then usually sharpen the image again. For the final step I did add a texture:
I set it to soft light, and lowered the opacity to about 80%. I also erased the parts of the texture that overlapped on Ichabod’s face and hair.
See how the texture adds some definition to the background, and makes everything pop? If you have trouble finding good light leaks and icon textures, I definitely recommend midnight_road.
++
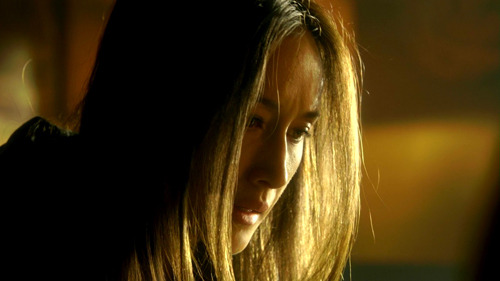
Now onto the Lydia icon, open up this cap:

Start with a duplication of the background layer, and set the duplicated layer to screen for the the blend mode. Then add a Brightness/Contrast adjustment; brightness 24, contrast 16. Then another of the same adjustment, this time brightness at 34, no change in contrast.
Now a Curves, output at 152, input at 140. And a Levels, top row 0, 1.00, 255; output levels, 0, 229. And a Selective Color, BLACKS +32.
Next some toning; Color Balance (midtones), +10, +13, +1. Selective Color next, REDS -39, +54, -11, 0. And a Vibrance; vibrance +16, saturation +5.
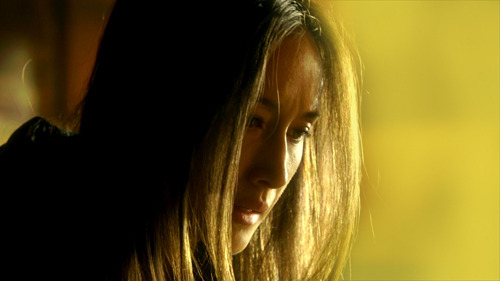
Now add in the gradients! Save the two images below:


And add them onto the cap. I did duplicate the first one three times; and of course all of them are on soft light blend mode 100% opacity!

Next I started on the coloring; first make a blank layer and grab a brush. I used a round brush at 50% hardness and a nice deep purple color to paint in the left side background (#5c3955). Then I set the blend mode to color; after that make another layer and do the same for the other half of the image.
I made another blank layer, blend mode normal, opacity 65%. And I used a very soft round brush at about 40% painting opacity to add in some more purple on the left side.
Add yet another blank layer, this time set the blend to soft light, 55% opacity and paint with a soft brush on both sides of the image. (#a45494). One more blank layer using the same color, normal blend mode 72% opacity and very lightly paint some on the left side again.
Now a Selective Color, REDS +26, +12, -1, 0. YELLOWS -79, -19, -55, 0. MAGENTAS -75, +11, -50, 0. This really brings out the pinks and purples, and tones her skin some more.
Now a Vibrance, +24, +12. For this vibrance adjustment layer, I masked it so it didn’t touch most of Lydia’s face. I kept the vibrance for her hair, lips, eyes and blush.
I added another BLACK focused Selective Color (+9), and messed with her lips too. MAGENTA +68, +73, +54, +51. Then another Selective Color, BLACKS +18, and I masked it for just her eyes, and only colored the lashes and eyelids.
I did add a blank layer, blend mode overlay at full opacity and used a light green to color her irises. (#919952). Then a Curves; output 130, input 99, and masked for her irises only. Then another Curves; 144, 79, this one for the reflections in the eyes. And lastly a Hue/Saturation, -31, for the whites of her eyes.
Last for the toning, hair! New blank layer again, soft light blend mode, 79% opacity. Use this color #d4a783, and color her hair with a soft round brush.
Now make an icon; just make a new canvas sized 100x100. Then stamp the Lydia cap (ctrl+alt+shift+e) and move it over to the small canvas. Use Ctrl+T to transform the image so you can resize it how you want. This is how I did mine:
Add a Selective Color, BLACKS +42 to deepen the blacks. I also added a gradient map (black and white) at a soft light blend mode and 27% opacity. Just for simple blending/contrasting.
Save this image texture:
And add it to the icon. I set the blend mode to soft light, opacity 40%; and then I flipped it vertically.
For this one, screen blend mode, 61% opacity. I flipped it horizontally and erased most of the middle part of the texture using a soft round brush at a lowered opacity.
This one, set the blend mode to screen, 80% opacity. I flipped it horizontally and used ctrl+t to move the lightest part of the texture into the bottom left corner angled upward at Lydia’s jaw.
I also added another Vibrance, +7 and +12. Then stamped the layers and sharpened with the same settings as the Ichabod icon above. Filter > Sharpen > Smart Sharpen, with the Amount set to 500, the Radius as 0.3, More Accurate and Remove Gaussian Blur.

++
Open up this cap of Nikita:
I liked the brightness and contrast of the cap already, so I started by making a new blank layer and taking a light yellow color to paint in the right side background. (#dfc83b) I used a soft round brush, at varying opacities to color that side in.
I then made another blank layer and colored the left side background in with absolute black.
Next add a Gradient Map (black to white) with the blend mode set to soft light, and the opacity at 73%. Then a Curves adjustment, output 150, input 103. And a Levels, 0, 1.42, 255; output levels 0, 255.
Now some more toning; Selective Color, REDS -52, -40, +62, +43. Absolute not relative; also make sure to mask the adjustment so it doesn’t touch Niki’s face. Make another Selective Color, also masked so it only effects the background. These settings: YELLOWS +6, +68, +57, -17. Also set to absolute.
I also added a Vibrance adjustment; vibrance +27, saturation +26.
Now add a blank new layer, this color #dfc83b and set the blend mode for the layer to soft light. I used a soft brush to paint her lips. Then a Curves, 160, 94; and masked it to color her irises. I did the same thing for the reflections in her eyes.
I also added another Selective Color, REDS -18, +40, -12, -38 (absolute). BLACKS 0, 0, 0, +100. Another Selective Color, YELLOWS -18, -5, -40, 0 (absolute).
My final touches were to add two Gradient Fills; the first is black angled from the left to the right. These are my settings:
I masked this for only the left side.
The second one is for the entire image; and the blend mode is soft light, 100% opacity. And finally, stamp and sharpen.
Great cap edit for a picspam, but this is an icon tutorial. So make a new canvas like before, 100x100 and add the stamped Nikita image. All I did with the icon was add a blank layer and some light in a soft yellow color with a light opacity brush.
I also sharpened it again!
++
First duplicate the cap of Damon, set the blend mode to screen. Now a Brightness/Contrast, 24 and 16. Another Brightness/Contrast, brightness at 34. Now a Curves, 152 and 140. Levels, top row all default and the output levels, 0, 229.
I added a Selective Color too, BLACKS 0, 0, 0, +8.
Now some toning; Color Balance (midtones), +10, +13, +1. Selective Color, REDS -39, +54, -11, 0.
Now the background! Make a Selective Color, REDS -70, +100, -56, 0. YELLOWS -100, +100, -9, +98. And mask the adjustment to only effect the background. Use the same masking selection to create another Selective Color, REDS -59, +19, +65, +56. YELLOWS -19, -100, -96, 0. MAGENTA -79, -25, 0, 0. One more time, same selection and another Selective Color; REDS -47, -9, +40, 0. YELLOWS -8, -42, +38, 0. GREENS -55, -37, +100, 0.
I made another Selective Color to maximize the oranges; REDS +1, -8, +66, 0 (absolute). I masked it to color basically everything, but erased some color from Damon’s face and neck.
Now add a Curves 138, 112; and a Vibrance +16, +5.

Use the same two Gradients as before:


Both set to soft light blend mode and 100% opacity. And the first image needs to be reversed, the light on the right and the dark of the left.
I made a bunch of blank layers and used them to make some changed to the background. I used this color on the first two #f0a334, and colored the right side in.
Then mask a Color Balance to only effect the right side: settings for midtones (only) +22, 0, +73. I then made more blank layers and used this orange #eea036, to color in the background the rest of the way on the right side.
I did add a black and white Gradient Map, soft light blends mode at 20% opacity.
I then stamped the image (ctrl+shift+e+alt) and moved the stamped image over to the left.
I made a new blank layer, used a very soft round brush and filled in the left side of the background that remained (#000000).
Now a few more things for toning; Selective Color, REDS -14, -6, -10, 0. YELLOWS -4, -20, -48, +14. Then another Selective Color, YELLOWS -17, +30, -45, 0. And one last Vibrance, +27 and +10. Now Sharpen!
Now make the canvas, 100x100 and drag the stamped Damon layer over. Add this texture:
Blend mode to soft light, opacity at 100%. I also erased the middle section of the texture, to avoid overlapping Damon’s face.

This one, I flipped around a bit to find the right angle, and set the blend mode to screen and the opacity to 63%. Then erased the middle parts again.
And finished; wow that was a long tutorial. Hopefully it helps you create cool icons!


Just wanted to ask you how you make your aesthetic boards, like how you choose the pictures and where you get them from, and where you get your ideas from.. you make so many of them and so well, just curious to know what your process is.. i have no intention of copying you or anything, (also i have like 0 talent) but just wanted to know, thanks!
I will work on a tutorial for you; as for places to get pictures, I grab stuff from Pinterest and WeHeartIt. If you have a specific picspam I made in mind that’d help me make a tutorial for you.