Aesthetic Tutorial - Tumblr Posts
AESTHETIC PICSPAM TUTORIAL
Another tutorial! And it’s another requested one from an anon; they wanted a tutorial on how I make my aesthetic picspams.
PROGRAM: Photoshop CS6, DIFFICULTY: Medium
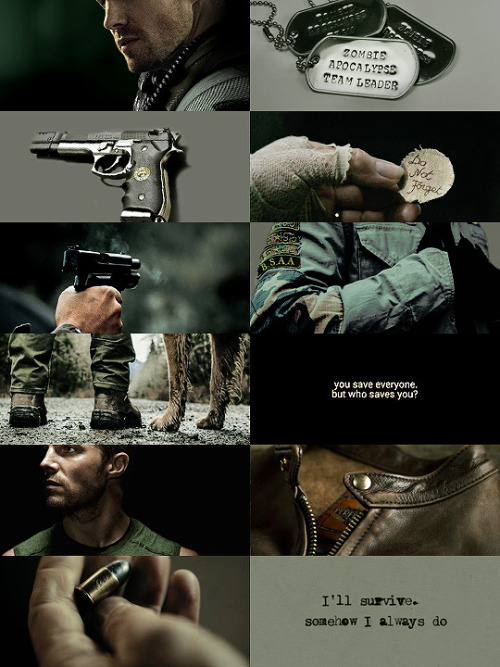
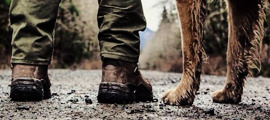
I will be showing you how to make this specific picspam:
Now the first thing you’ll need is a good template. I either make my own, or download them online. Templates can be downloaded here; and an all around great place for resources is chaoticresources. Here is the template I used for the spam:

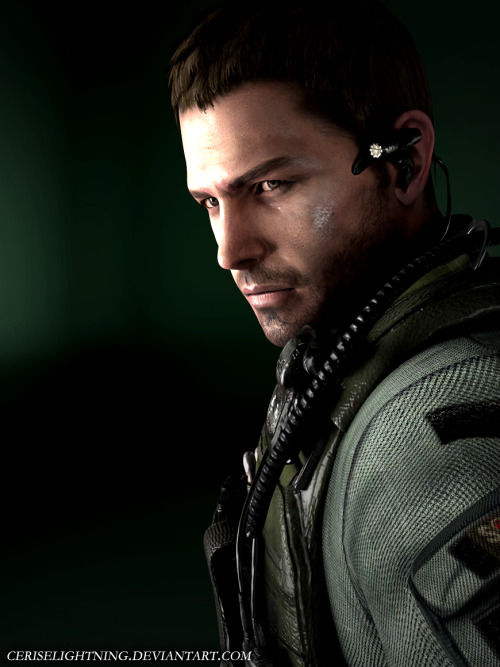
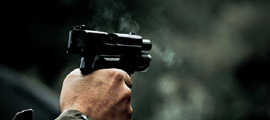
The first image I used was of Chris Redfield, a render of a 3D model by ceriselightning.
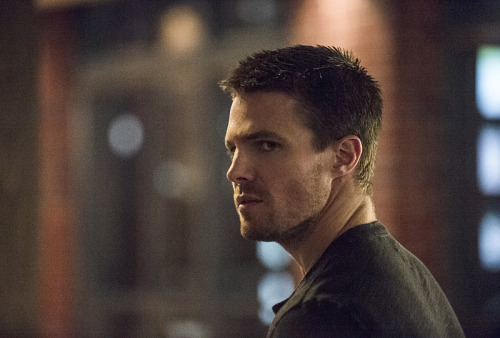
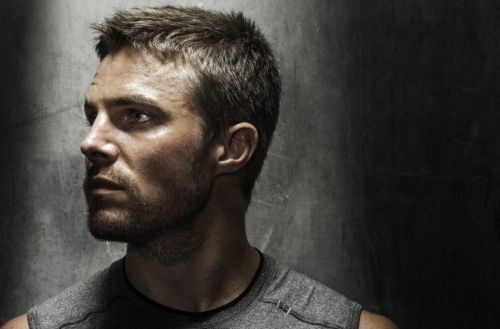
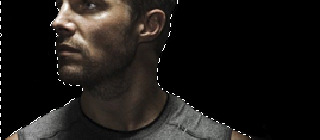
I cropped it down and resized the image to 270x120 to fit the picspam. Now open up a picture of the gorgeous Stephen Amell.
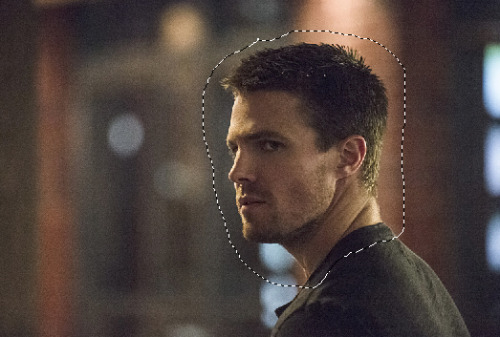
I used the lasso tool to cut out the parts I knew I wouldn’t need. Here is the selection:
Now move it over to the template, and mask the image.
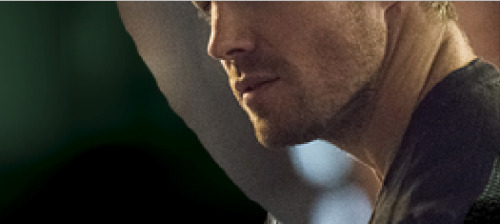
I went ahead and erased the parts I didn’t need; then cropped it to fit with the image of Chris.
Now select Stephen’s face layer (right click the box and choose ‘add mask to selection’) and make a Color Balance adjustment. Midtones only, -12, +8. +3. Then a Selective Color, blacks +17.
I also put a new layer on top and used a soft brush, black color and carefully filled in some of the right side.
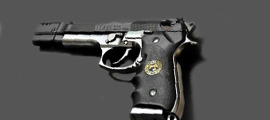
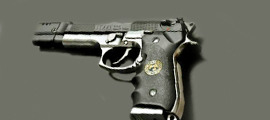
Next open the image below.
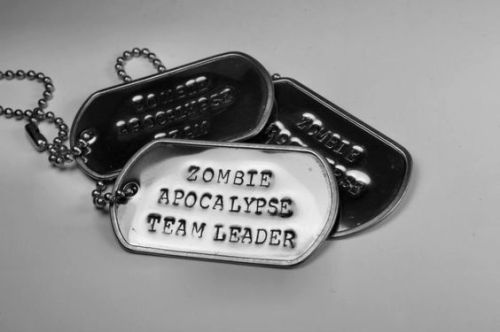
This one was super easy, just crop and recolor; start with a Gradient Map (48% opacity)
(#101010, #b3b3b3)
Next a Curves; 125, 104. Then Color Balance, +13, +17, -8 (midtones). Last a Levels, this time paint over everything but the face of the dogtag. (0, 1.00, 255, 0, 204)
And here’s the finished picture.
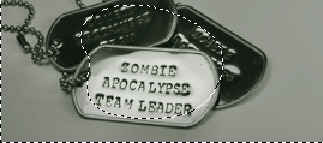
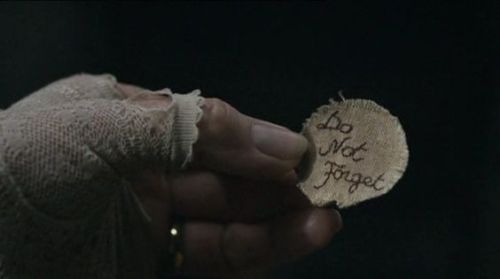
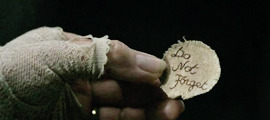
I could not for the life of me find 2 of the images; this one is the first one, so it’s already cropped and I erased the background from the original with a cool grey tone.
Then I added a Curves; 124, 99. Then a Color Balance, +8, +12, -3 (midtones)
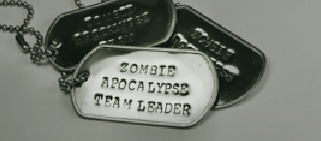
Next picture:
Again, this was just a matter of toning it to match the color scheme of the picspam. Now add a Curves; 150, 84. Then a Color Balance, +12, +15, +2. (midtones) Lastly, a Selective Color blacks +19.
The next one is literally the easiest one, because it is the second image I could not find again. However, I actually didn’t have to do anything to it. It already had the perfect coloring.
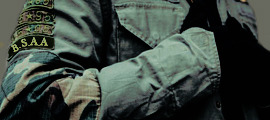
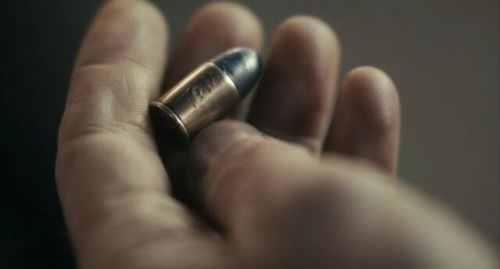
Here’s the next one:
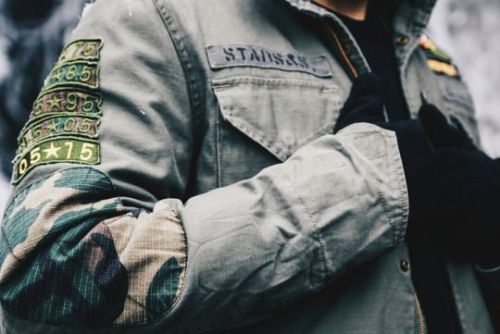
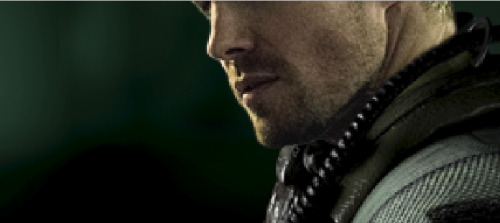
Make a new blank layer on top of the image, and use this color #303a23 to paint over the 05 * 15 on his sleeve.
Then make another blank layer and fill in the background with this color #6f7167.
I made a Selective Color next, WHITES; +83, -4, +28, +14. BLACKS, -4, 0, 0, +51. Then a Levels, but I masked it so it didn’t touch the background. These settings, 0, 0.72, 255 (top) 0, 229 (output).
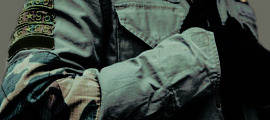
Next I found a B.S.A.A logo on Google, and used the warp and transform tools to put it on the patch over his arm.
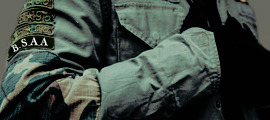
I decided to color it green (#89a867), and used a Color Balance to tone the logo a little more. Midtones, +22, 0, -64.
Next this picture:
First off, a Selective Color. REDS, -15; YELLOWS, +36, BLACKS +50.
Now a Color Balance (midtones), -13, +15, -10. Hue/Saturation next, -32 saturation.
This one all I had to do was crop it.
Another picture of Mr. Amell ^^
For this one, make a blank layer and fill in the background with black. I used a round brush at about 60% hardness and solid black and painted.
Next another blank layer, this time use a green color (#7ea973); and use your brush to paint the shirt. I set the blend mode to multiply, 79% opacity. For the full image, a Color Balance (midtones); +12, +15, -3.
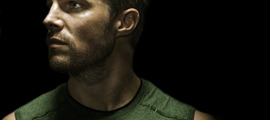
Selective Color next, BLACKS +9. YELLOWS, -15, +15, -26, -29.
This one just needs a Color Balance (midtones), -17, +6, -10.
This needs some toning; Selective Color, BLACKS +26. Color Balance, midtones again; +5, +9, 0.
Last one!
Color Balance, +9, +36, -10 (midtones); now make a blank layer, blend mode as color and use this to fill it in #7ea973. Selective Color, BLACKS +30. Now a Levels, 0, 0.89, 255, output 0, 134.
Last but not least you should have had all of the images on the template; if not move them over now, and then stamp the image (ctrl+alt+shift+e). And sharpen; Filter > Sharpen > Smart Sharpen, Amount 500, Radius 0.3. Remove Gaussian Blur, make sure More Accurate is ticked.

And you’re done! As always, enjoy and I hope this helps you make some cool aesthetics.