« Polyfragmented System / C-DID » ⁚ ↳ Endos and pro-endo DNI ↷ ⁚ Ξ He / They / It Ξ
375 posts
Planning About Making A Project Related To Systems And Help Systems, But I'm Not Sure If The Word I Came
Planning about making a project related to systems and help systems, but I'm not sure if the word I came up for the idea it's good or not... So help me decide!
-
 callumcide liked this · 1 year ago
 -
 persmo reblogged this · 1 year ago
 -
 howmanyletterscanifitinablogname liked this · 1 year ago
 -
 belinhagamer999 liked this · 1 year ago
 -
 somepoetwannabe liked this · 1 year ago
 -
 jesuswasacreature liked this · 1 year ago
More Posts from Persmo
It happened us very similar and more confusing tbh
DID -> I can't be a system that's ridiculous -> P-DID -> OSDD -> What am I saying this isn't posible -> DID -> pfDID
yall heard of osdd to pfdid pipeline but have you heard of
did -> im not a system -> osdd -> pdid -> polyfragmented pdid (i was unaware that pdid didnt actually fit my symptoms and it isnt possible to be pdid and polyfrag to my knowledge) -> pfdid
Blinkie Tutorial
Templates you'll need:


First step, open IbisPaint and import the pink blinkie base. This is just to keep the aspect ratio the same, so don't worry about preserving the pink blinkie after you import it.

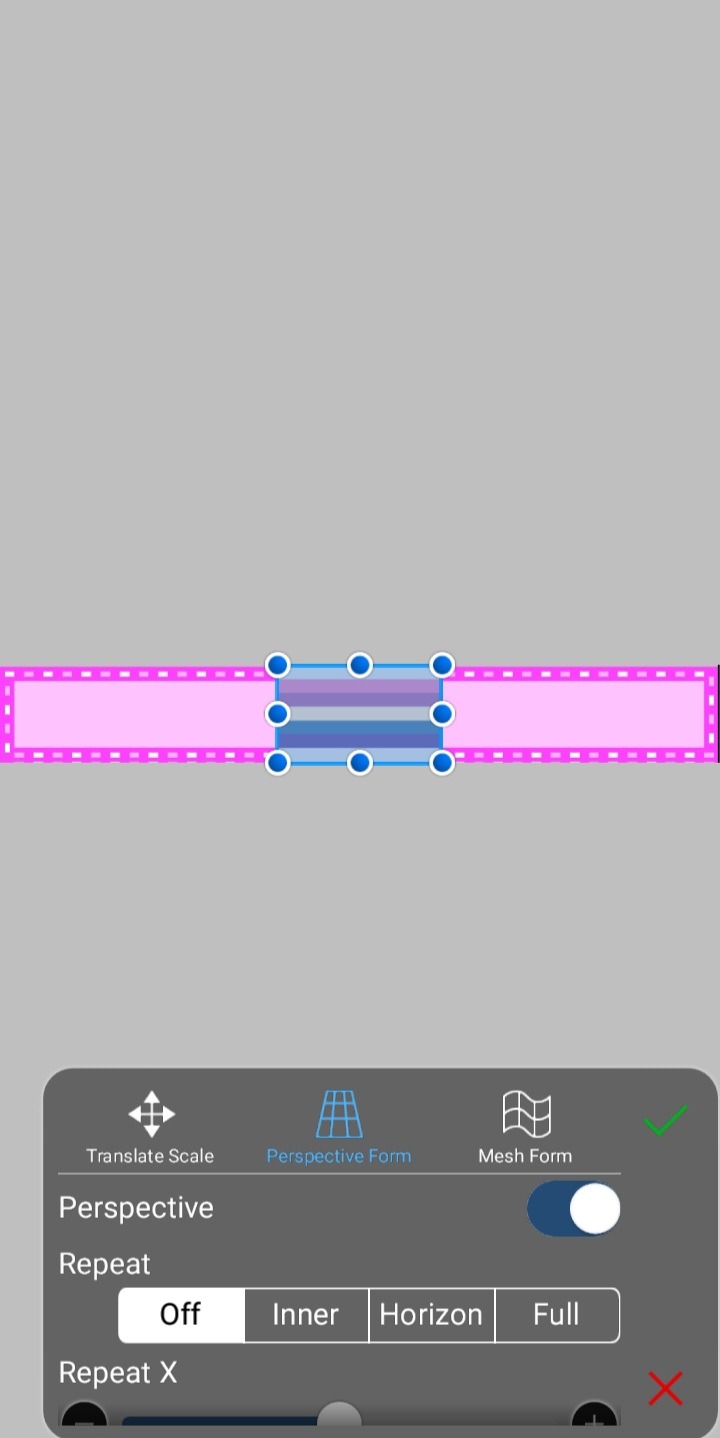
For this tutorial, I'll be making a CFS blinkie with this flag as the background. You can use any color or background. If you're using a horizontal striped flag like I am, be sure to select perspective form so it will automatically resize, and then you can stretch it to fit the blinkie.

Now that your background is done, you can add text, decoration, etc!

Now it's time to add the actual blinkie part. Insert the black and white template on a new layer right on top of the background. It should fit perfectly.


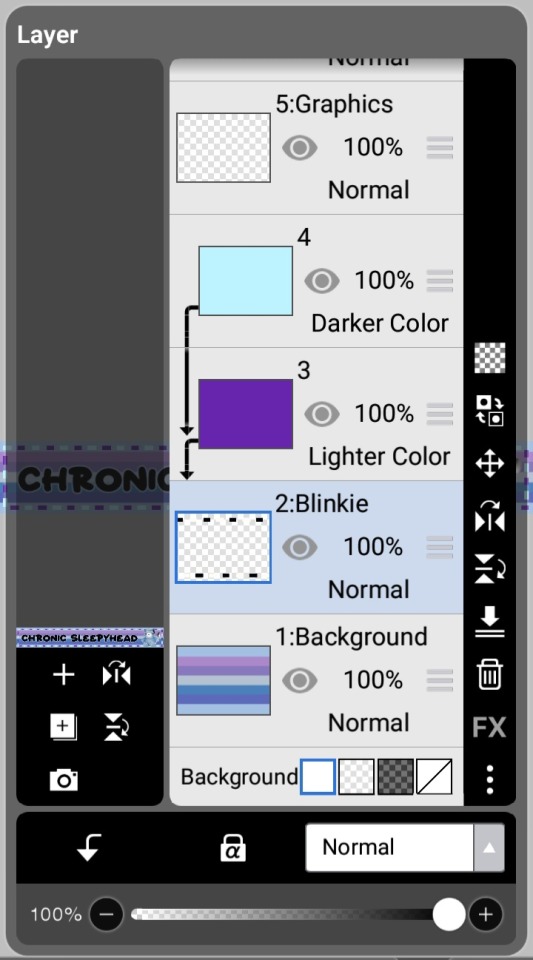
If you want to keep it black and white, ignore this next step. Here I will show you how to color the dots easily. I'll be picking purple and blue for my dots.
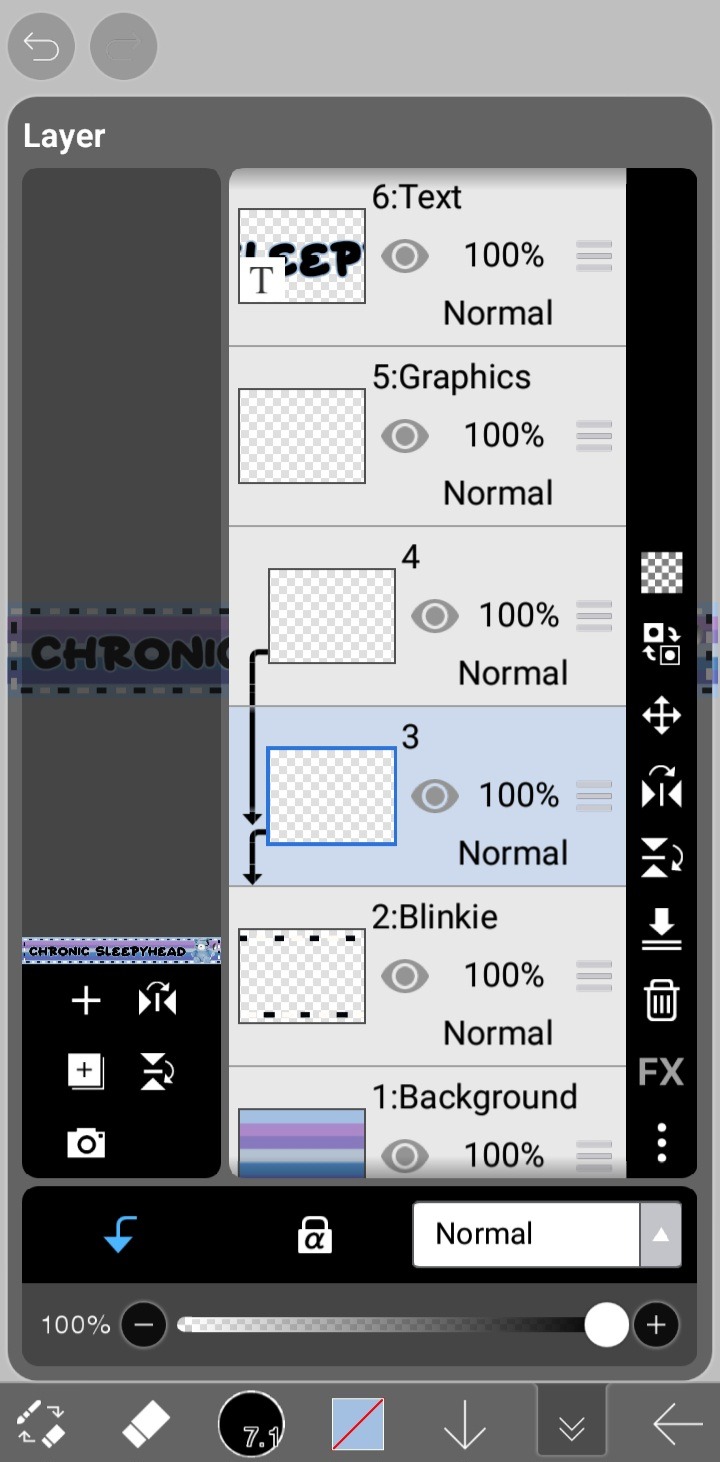
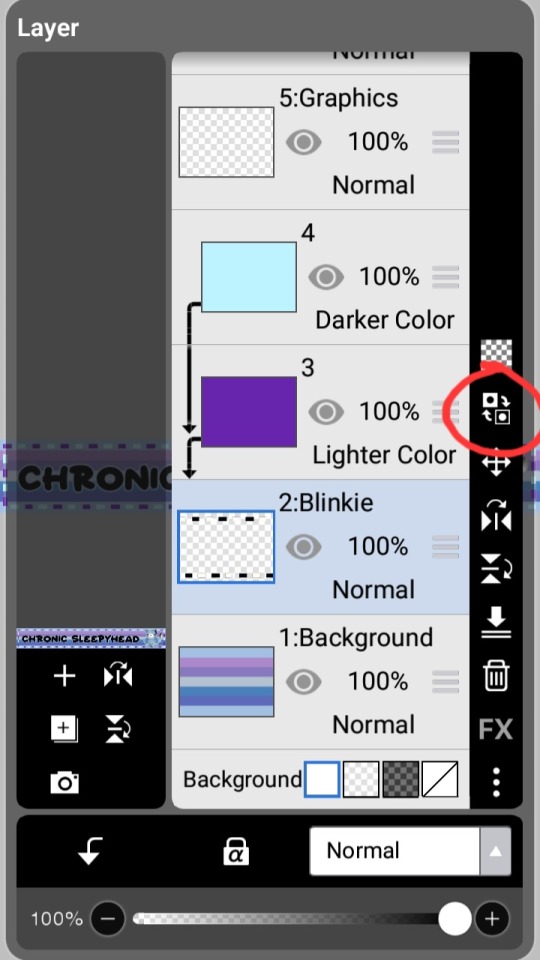
Make two layers above the blinkie part and set them both to clipping layers. One will be for recoloring your white dots, the other for you black dots.
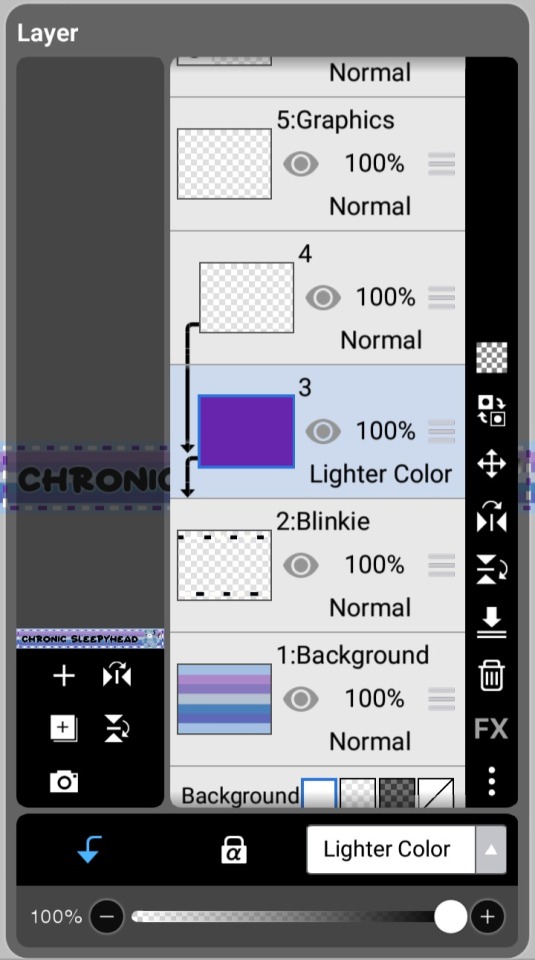
Color one of the layers entirely with your first color, then set it to "Lighter Color". This will color only your black dots.
Do the same with your other color on the other layer, and then set it to "Darker Color". This will color only your white dots.
Boom! Now you've got your first frame!

To get your 2nd frame, simply click the invert button on the blinkie frame.
Now you've got both your frames!

Now just pop these frames into EzGif's Gif Maker (or any other gif maker), and you're done!
Congrats! You've made a blinkie!

TODAY IS OUR BIRTHDAY LET'S GOOOO
Our blogs are gonna be a little abandoned till Monday and I feel bad about it TT
THANK YOU VERY MUUUCH /pos
TODAY IS OUR BIRTHDAY LET'S GOOOO