Lego Photography - Tumblr Posts

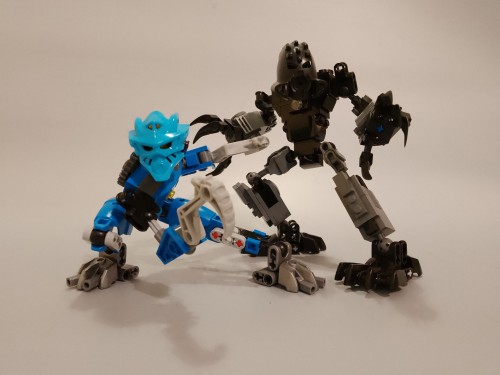
I realised I’ve posted quite a lot of my MOCs on this blog, but any of my more 'photographic' works, yet, so here’s one of the first I made (we don’t talk about previous attempts), which still works quite well, although there are some things I would do differently, were I to do this again.
My process, and other details, below :}
So. The process I used to get this effect is not a really complicated one, but it still offers a more or less good render at the end, which is nice.
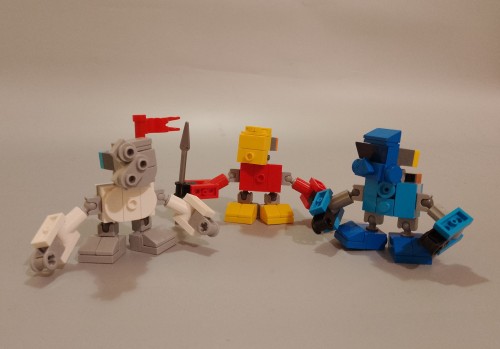
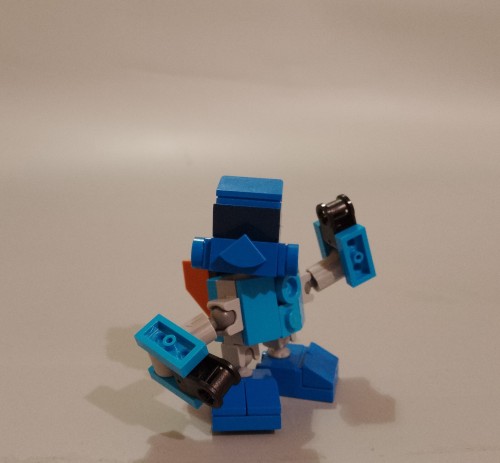
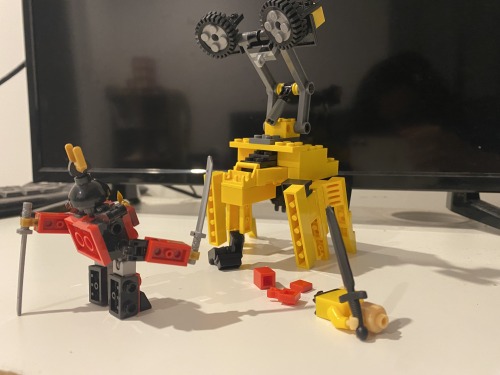
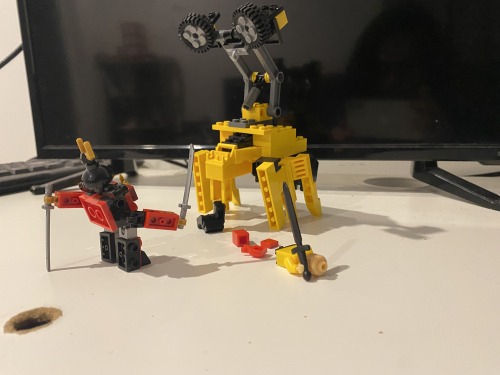
The blue guy has nothing special, but the red one I made float, but how ? The answer is not telekinesis, but superposition. Take a look at the images below :


Left one is the original, with no special effect (and no cropping, to offer a larger view), while the right one is the same, without the red minifig. By taking both photos without changing the camera angle (which is a painful thing to do with a phone, I would not recommend), and with a simple image editor, I put the 'empty' image (right) on a layer under the image I want to modify, and simply erase the supports.
It is important to note that if the erased bit casts a shadow, it’s better to also remove it, to avoid weird effects (here, there are no shadows because of the light source).
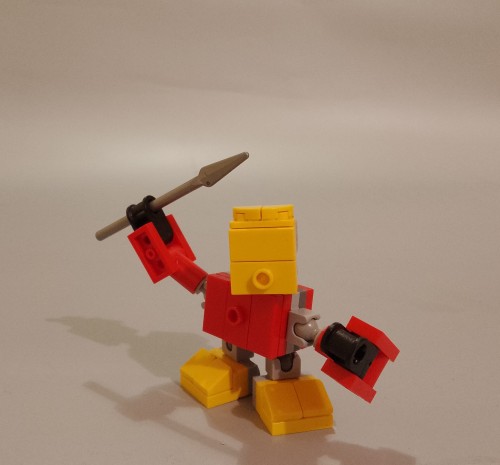
I’m also using an old set of blue LEDs inserted directly into Lego bricks to get this foggy aspect at the top, and to get a darker aspect to the blade of the red minifig, though there is also a desk lamp above providing some proper light, of the whole thing would be blue.
Last interesting point, this technic is the same I’ve used for the blog’s banner (but with proper lighting, for once). One might even recognise that the background for the two pictures is the same, because black was easily findable and gives quite the dramatic effect. The banner is, in fact, only half of my picture. Since you’ve made it here, I’ll offer another tiny bit of it here, as a treat :}

(And yes, I stole the characters from Star Wars sets, gave them light sabres even if they’re not meant to have one, and also added one of my cool cloaks, and made them fight. Don’t you dare judge my poor choices.)

✨Another edited photo, yay !✨
This is an entire version of the blog’s banner, too !
Technic details under the cut !
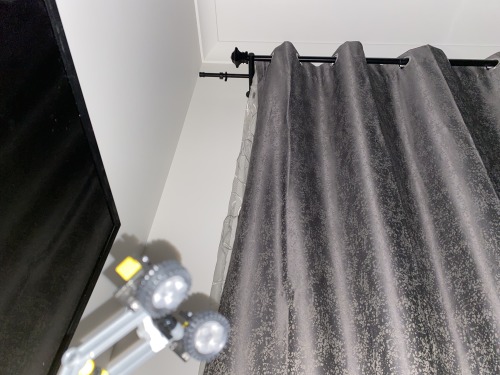
So ! Looking through my archives, I found images for the process I described in my previous similar post, including my made up studio (and very messy desk…) :

As you can see, it’s not quite a professional set up..
To be more precise, this is three led bands hooked to a power bank, on top of which my phone is meant to be sitting to take two photos in a row. Obviously, there is also a desk lamp illuminating the scene, so here is a picture without it :

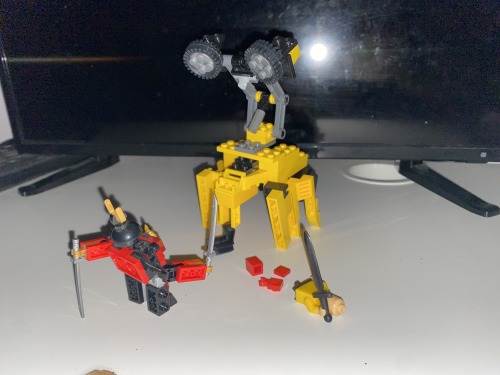
So, the way this is organised is that I have my black screen in the background which reflects the lights a little, but not the actual minifigs; the characters are held by transparent pieces connected to ball joints, so that I can have a steady but adjustable display. Light-wise, the two prominent led bands are colour-coded with the character’s color (kinda) to get them in opposition; the junction between the two is covered by some black bricks to create a darker area to offer more contrast; ans on top of the stage is help a (theoretically) white led with lesser intensity to make sure the scene stays lighted up properly, even if the light sources are from underneath. The red pieces I have used as frames are really good to hold these light bands, because I can have varied angles and heights plus a very solid structure, which is all I want.
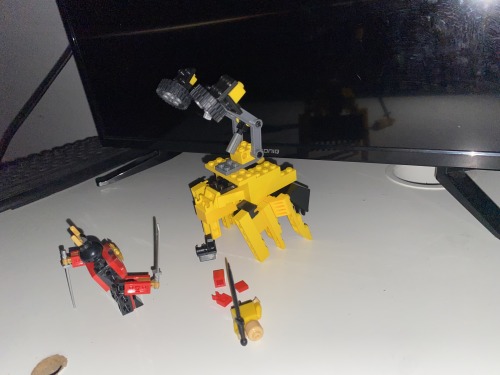
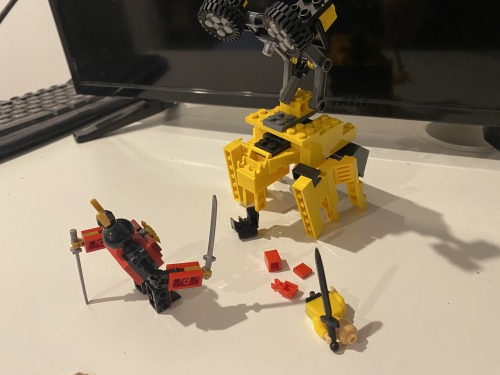
Finally, to get the floating render, I take a first shot with the characters, then a second one at the same place without the characters :


And then, with a bit of editing magic and other simple image manipulations, you get the result I have at the top of the post ! I’d recommend trying it for yourself, because it can be a lot of fun !
This.
This just made my evening 🌆


Date Night
I toked this picture last year for the @brickcentral contest bc_inframe.
For this I’ve build this little alley. But maybe different than expected isn’t this alley one big part. This are multiple smaller parts, this allows me to move things around until my final scene was in camera.


I did a Lego set today. I just moved and the place I was at previously had no areas to do legos, this place does so I did a Lego. Also I’m feeling a bit better than I did the other day.

I got a used phone handed down to me from my mother and it is better than my other phone, but I have to re-do everything that was on my other phone. But now I can take pictures.
I did this in one day.

Lego Gunships

Lego Star Wars Photo by Richard Henry
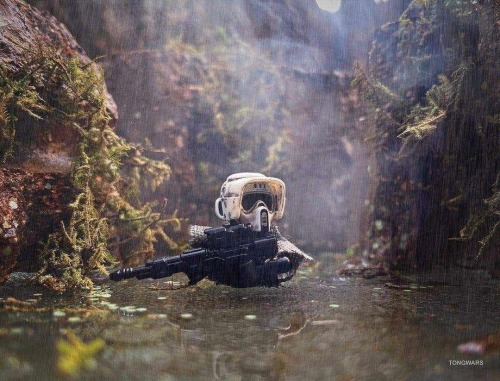
Lego Star Wars Photo by Richard Henry
I got a backdrop now yay!!!!
Test photo with these two
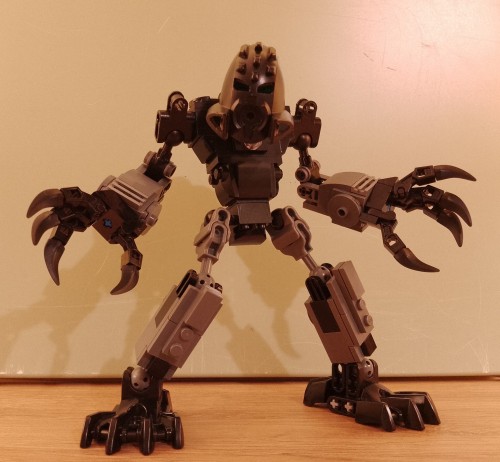
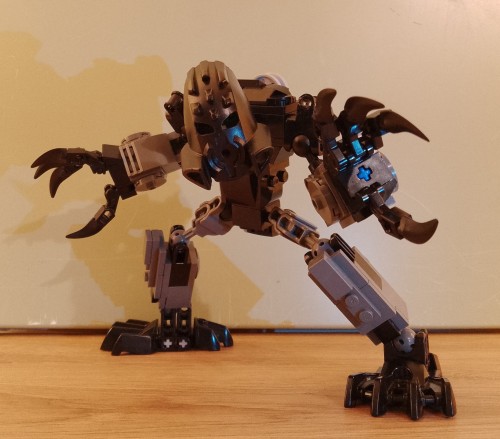
Oh hii onua!!
I dont have some masks so expect the rest of my toa mocs to be kinda inaccurate lmao
Tiny matoran team based on the GWP style lol
Matoro, Jaller and Hahli
!CANT GET ENUF OF YOU!


I found this thing that I somehow aquaired


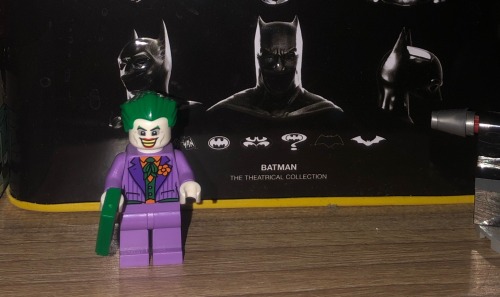
Lego Minifig Hades lol

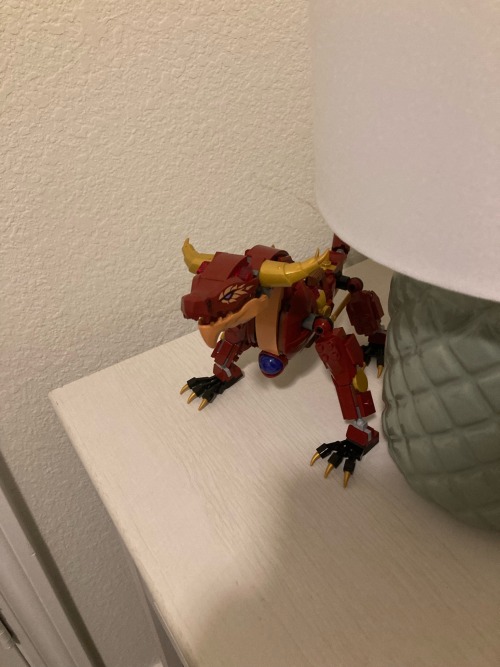
The lioness in the grass
Lightsaber Kettle

Because sometimes you need a spot of tea after a long battle.


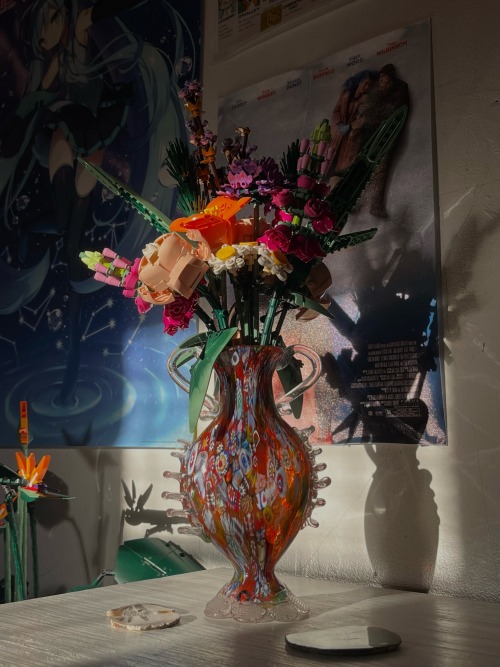

A moment for the vase ✨ thank you to my grandpa and his awesome 1970’s collection <333
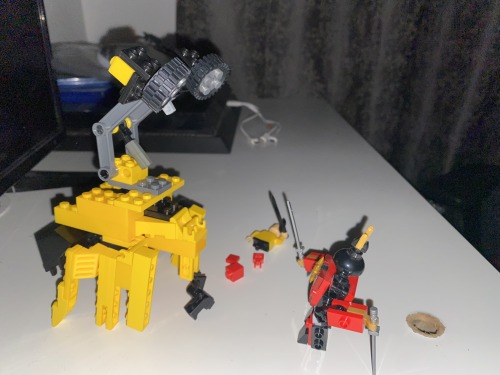
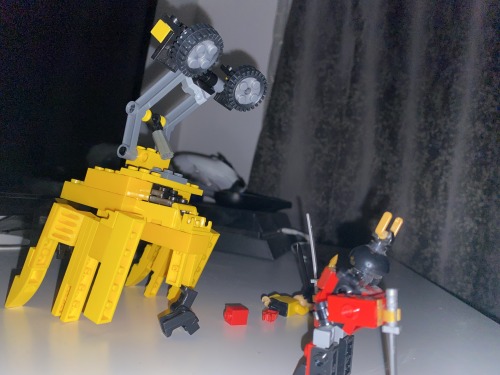
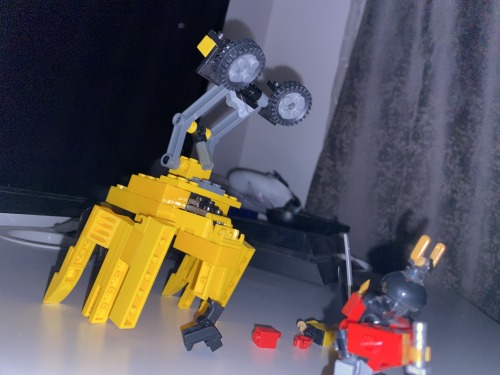
spent hours making this bootlego mecha killer robot thing
i made this out of a bootleg lego box of 2 construction vehicles. my mom mixed an ENTIRE PACket of bootlegos in a box with other legos😒)
after weeks I finally stopped procrastinating and completed the small LEGO set!! Also bonus with the mischievous little clown >:)
fun new date idea


we got a bit carried away lol
Genuinely my favorite LEGO pieces growing up.
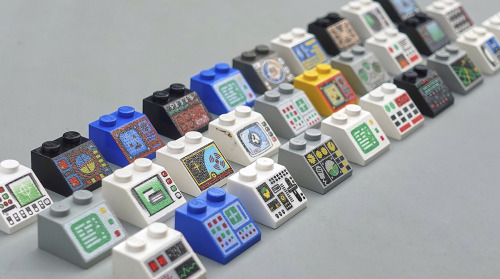

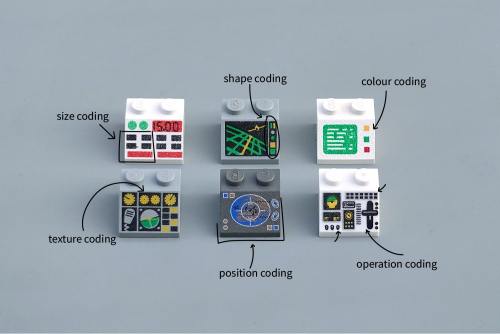
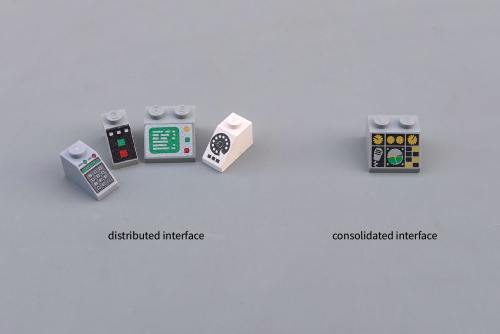

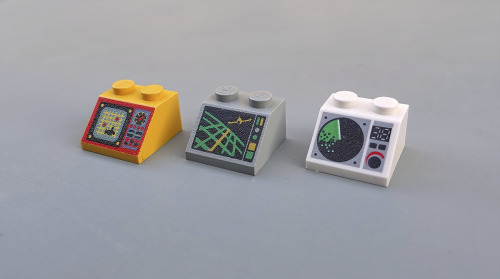
The UX of LEGO Interface Panels by George Cave


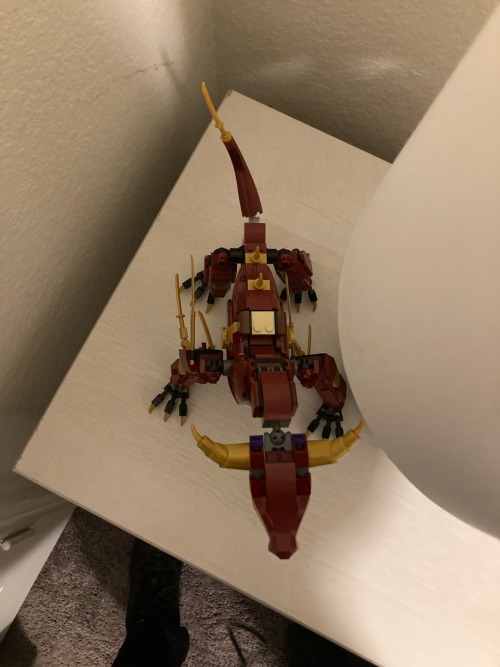
Playing in the garden… Nya’s adventure, part one of two.